Coastal Kelder: How To Build the Perfect Oyster Shucking Table
Hey y’all! It’s Jamie – an editor here at Southern Bon Vivant. Today I want to introduce you to a new writer and friend of mine – Kelley Elder. Kelley was born and raised in Georgia but now lives and works in Charleston, SC. Kelley is going to be our expert on all things Charleston and low country, so be on the look out for more of her posts!
Kelley is a die-hard Georgia Tech Fan and lover of all things oysters, so today, we’re syndicating a post from Kelley’s blog – Coastal Kelder – about building an oyster shucking table – just in time for football season. This post was written last January, but with oyster season just around in the corner (a good rule of thumb is to only eat raw oysters during months that include an ‘r’ in the name), we thought we’d share it with you today!
When it comes to building a table for shucking oysters, most people just put a piece of plywood over some saw horses and cut a hole in the middle. Well, we are not most people.
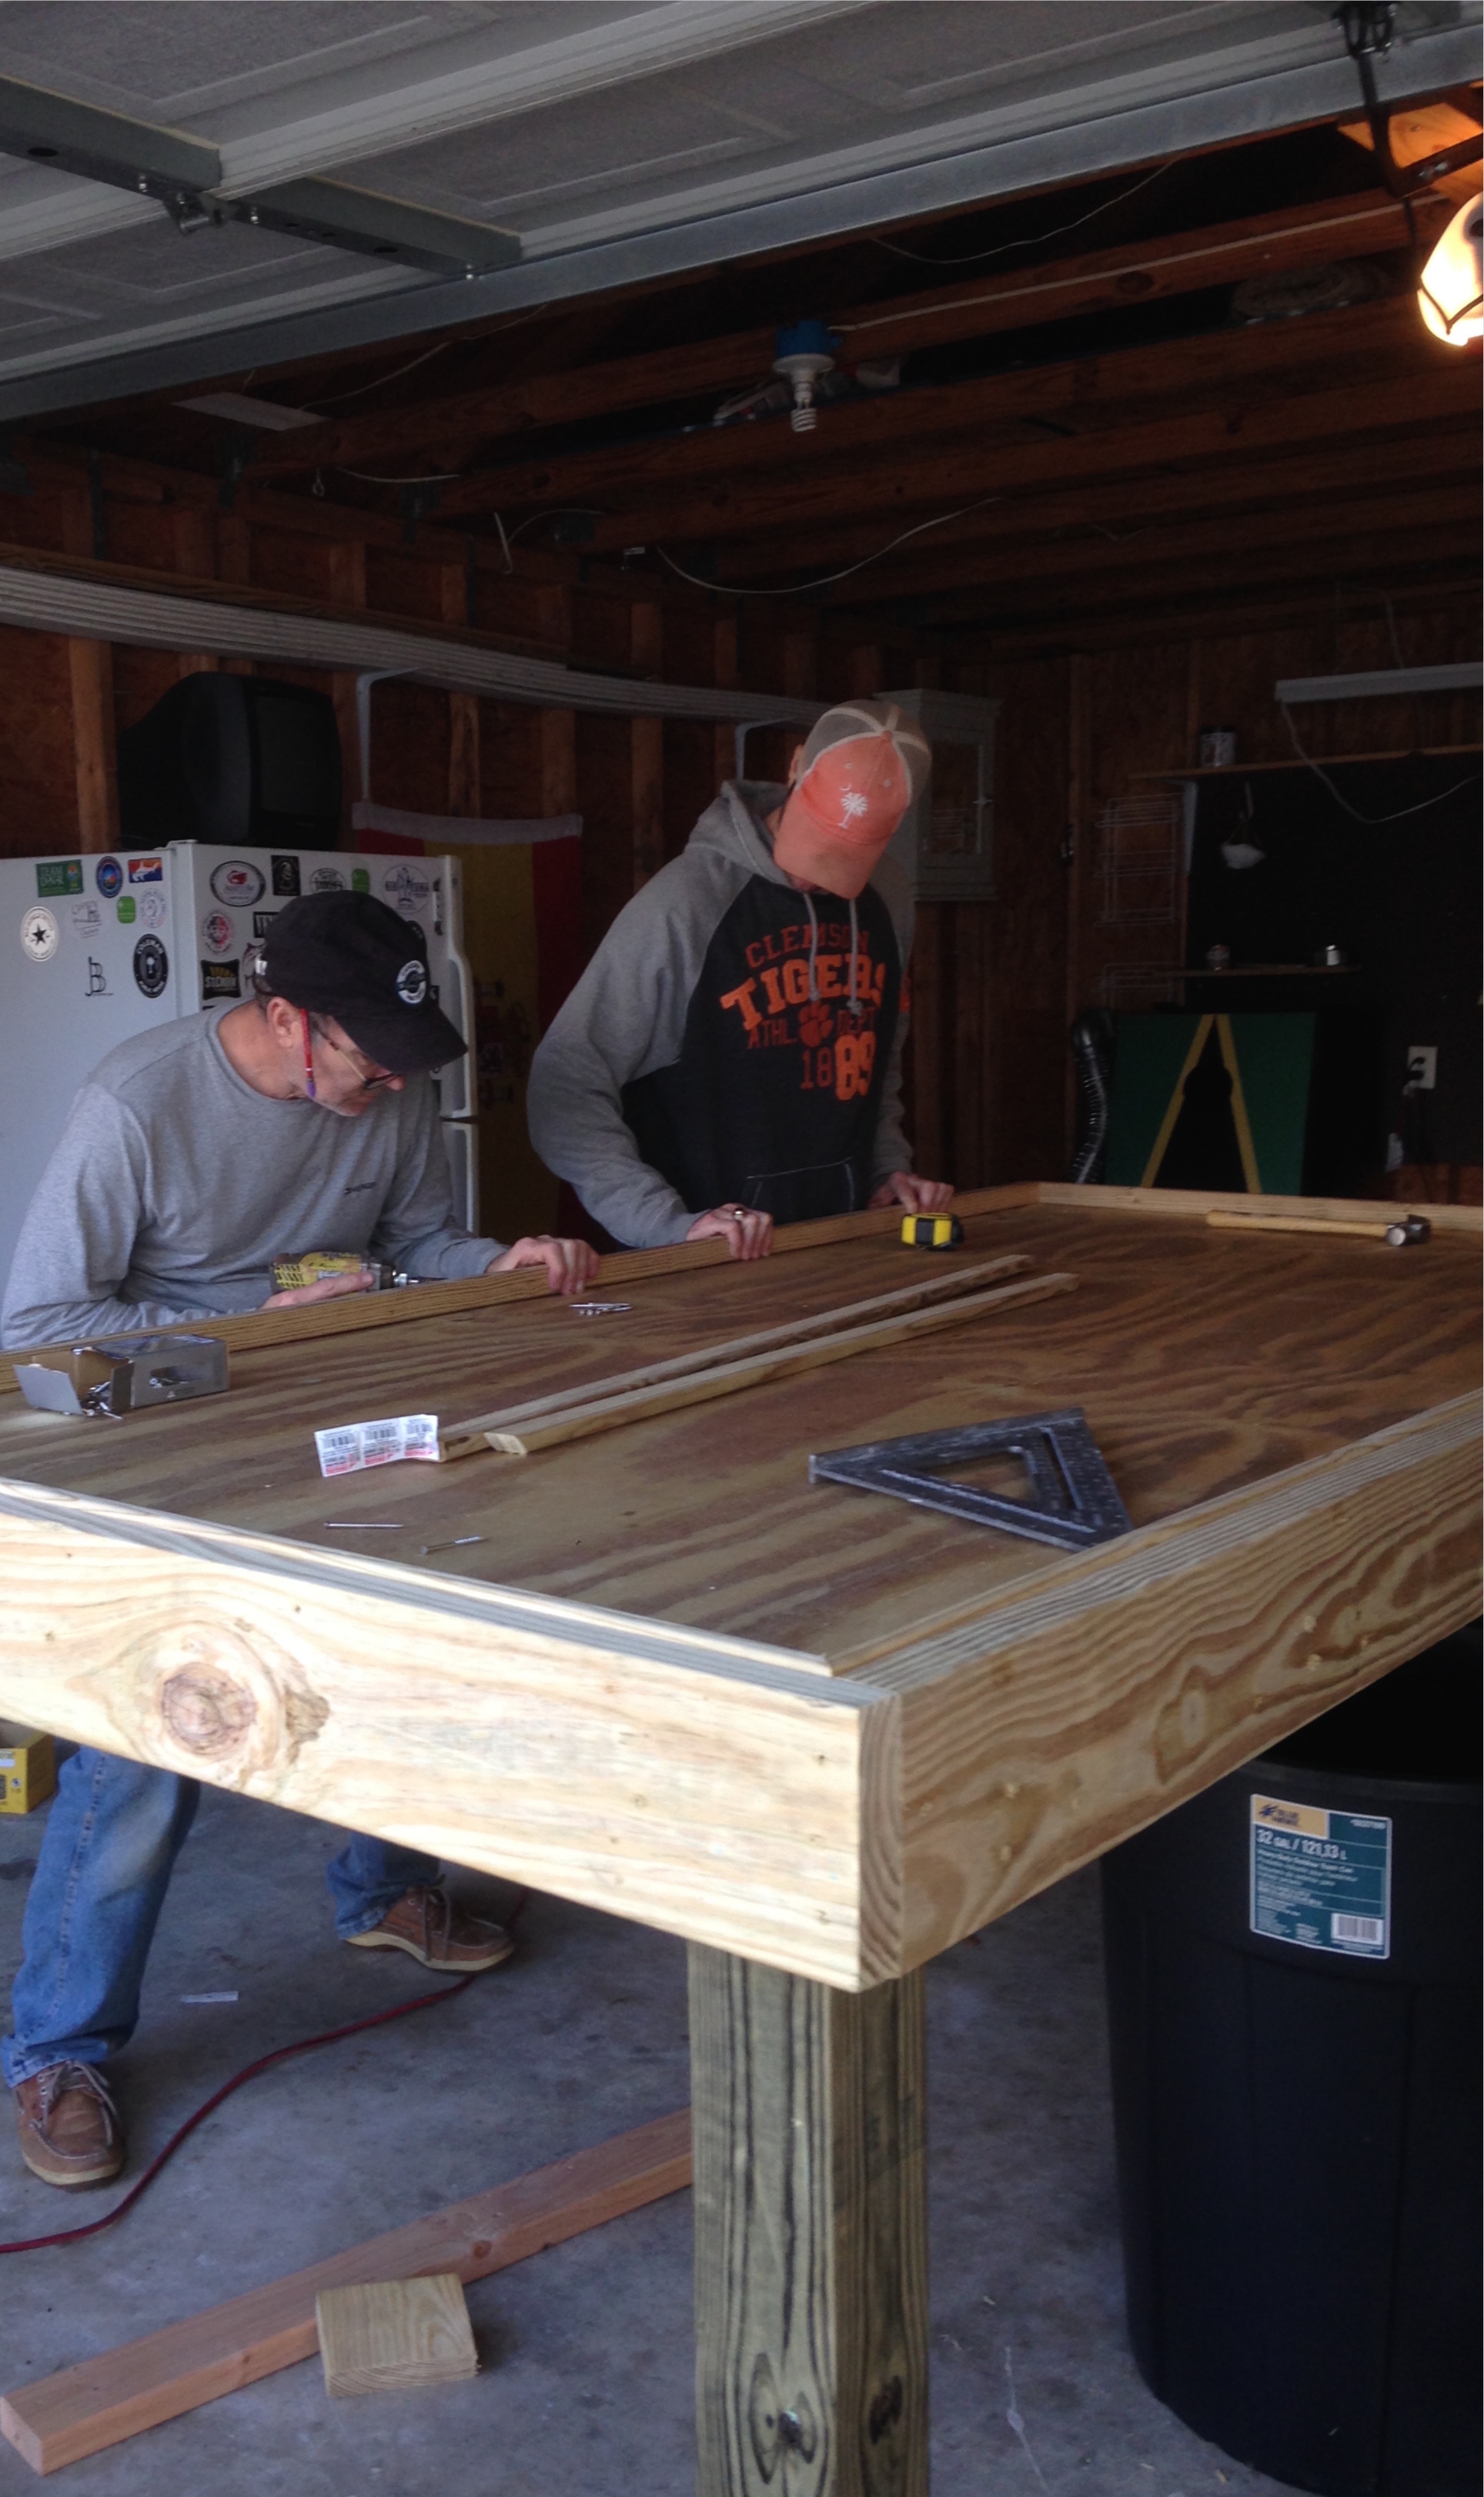
Hunter and his dad built the table while I was driving from Georgia to SC, but luckily they took a lot of pictures as they built the table, so these are photo-based (and Kelley interpreted) instructions!
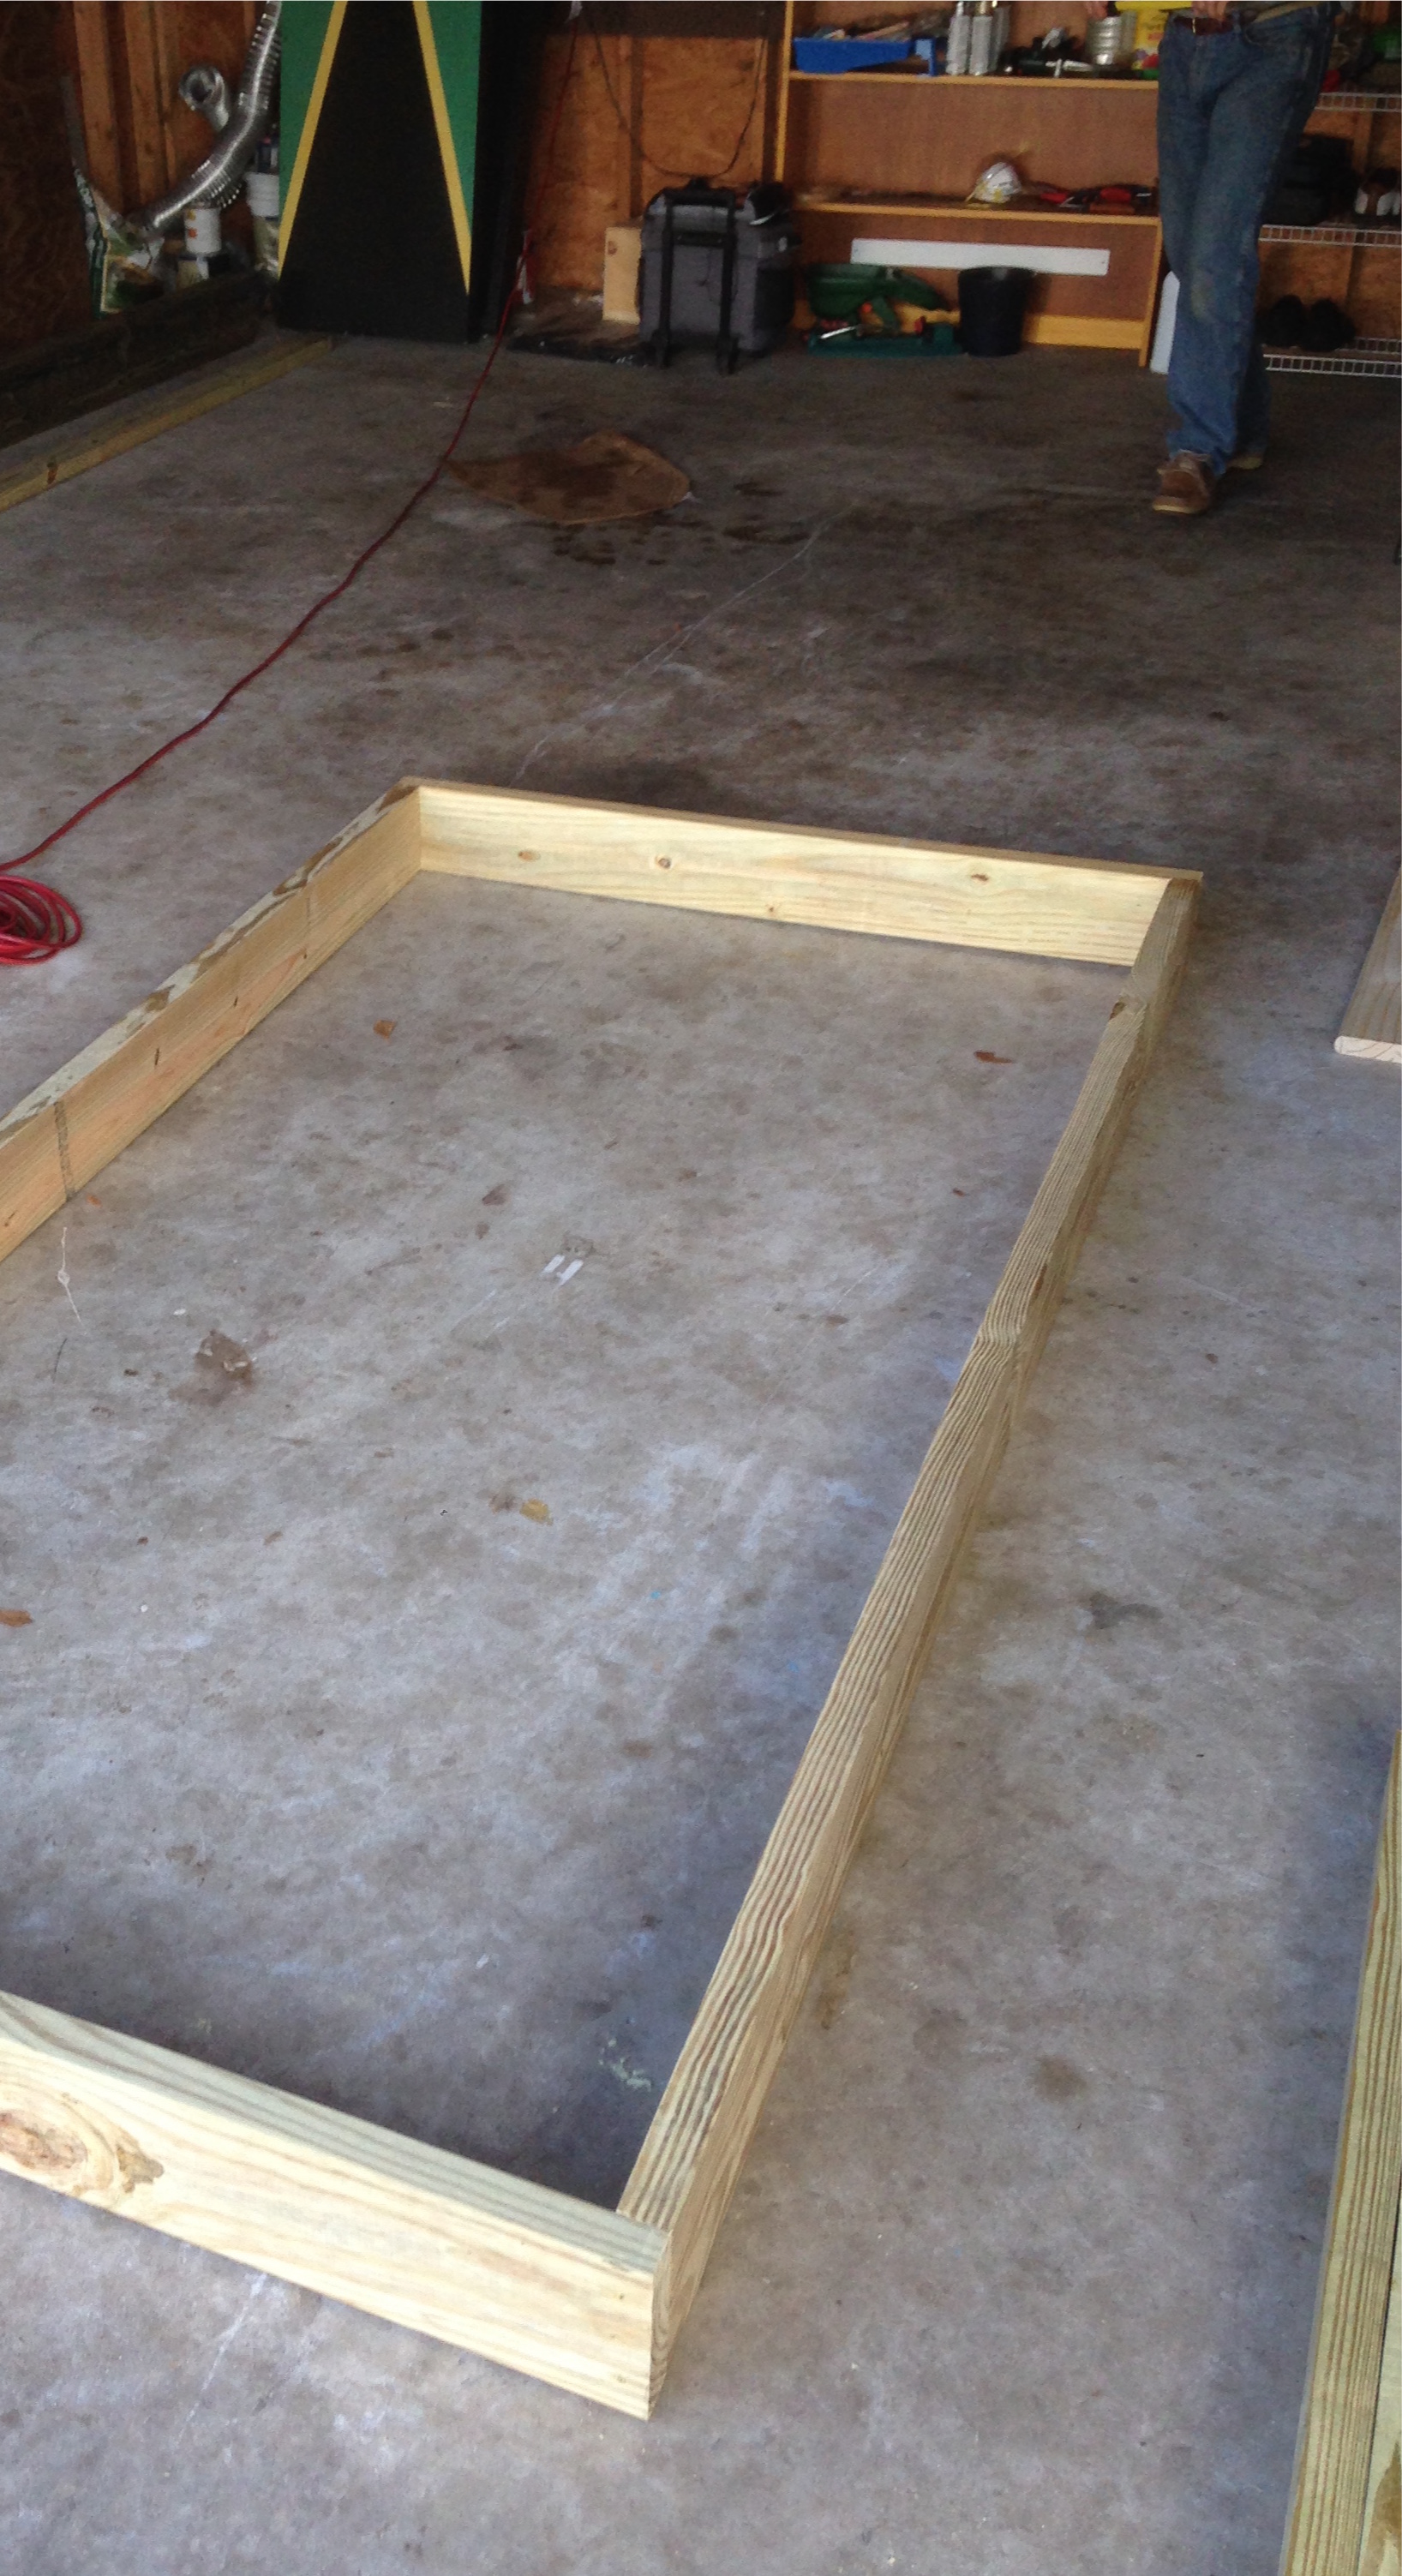
To start, know that all the wood that you use should be salt treated wood, so it’s not affected by all the oysters and washing/cleaning. This makes it pretty heavy.

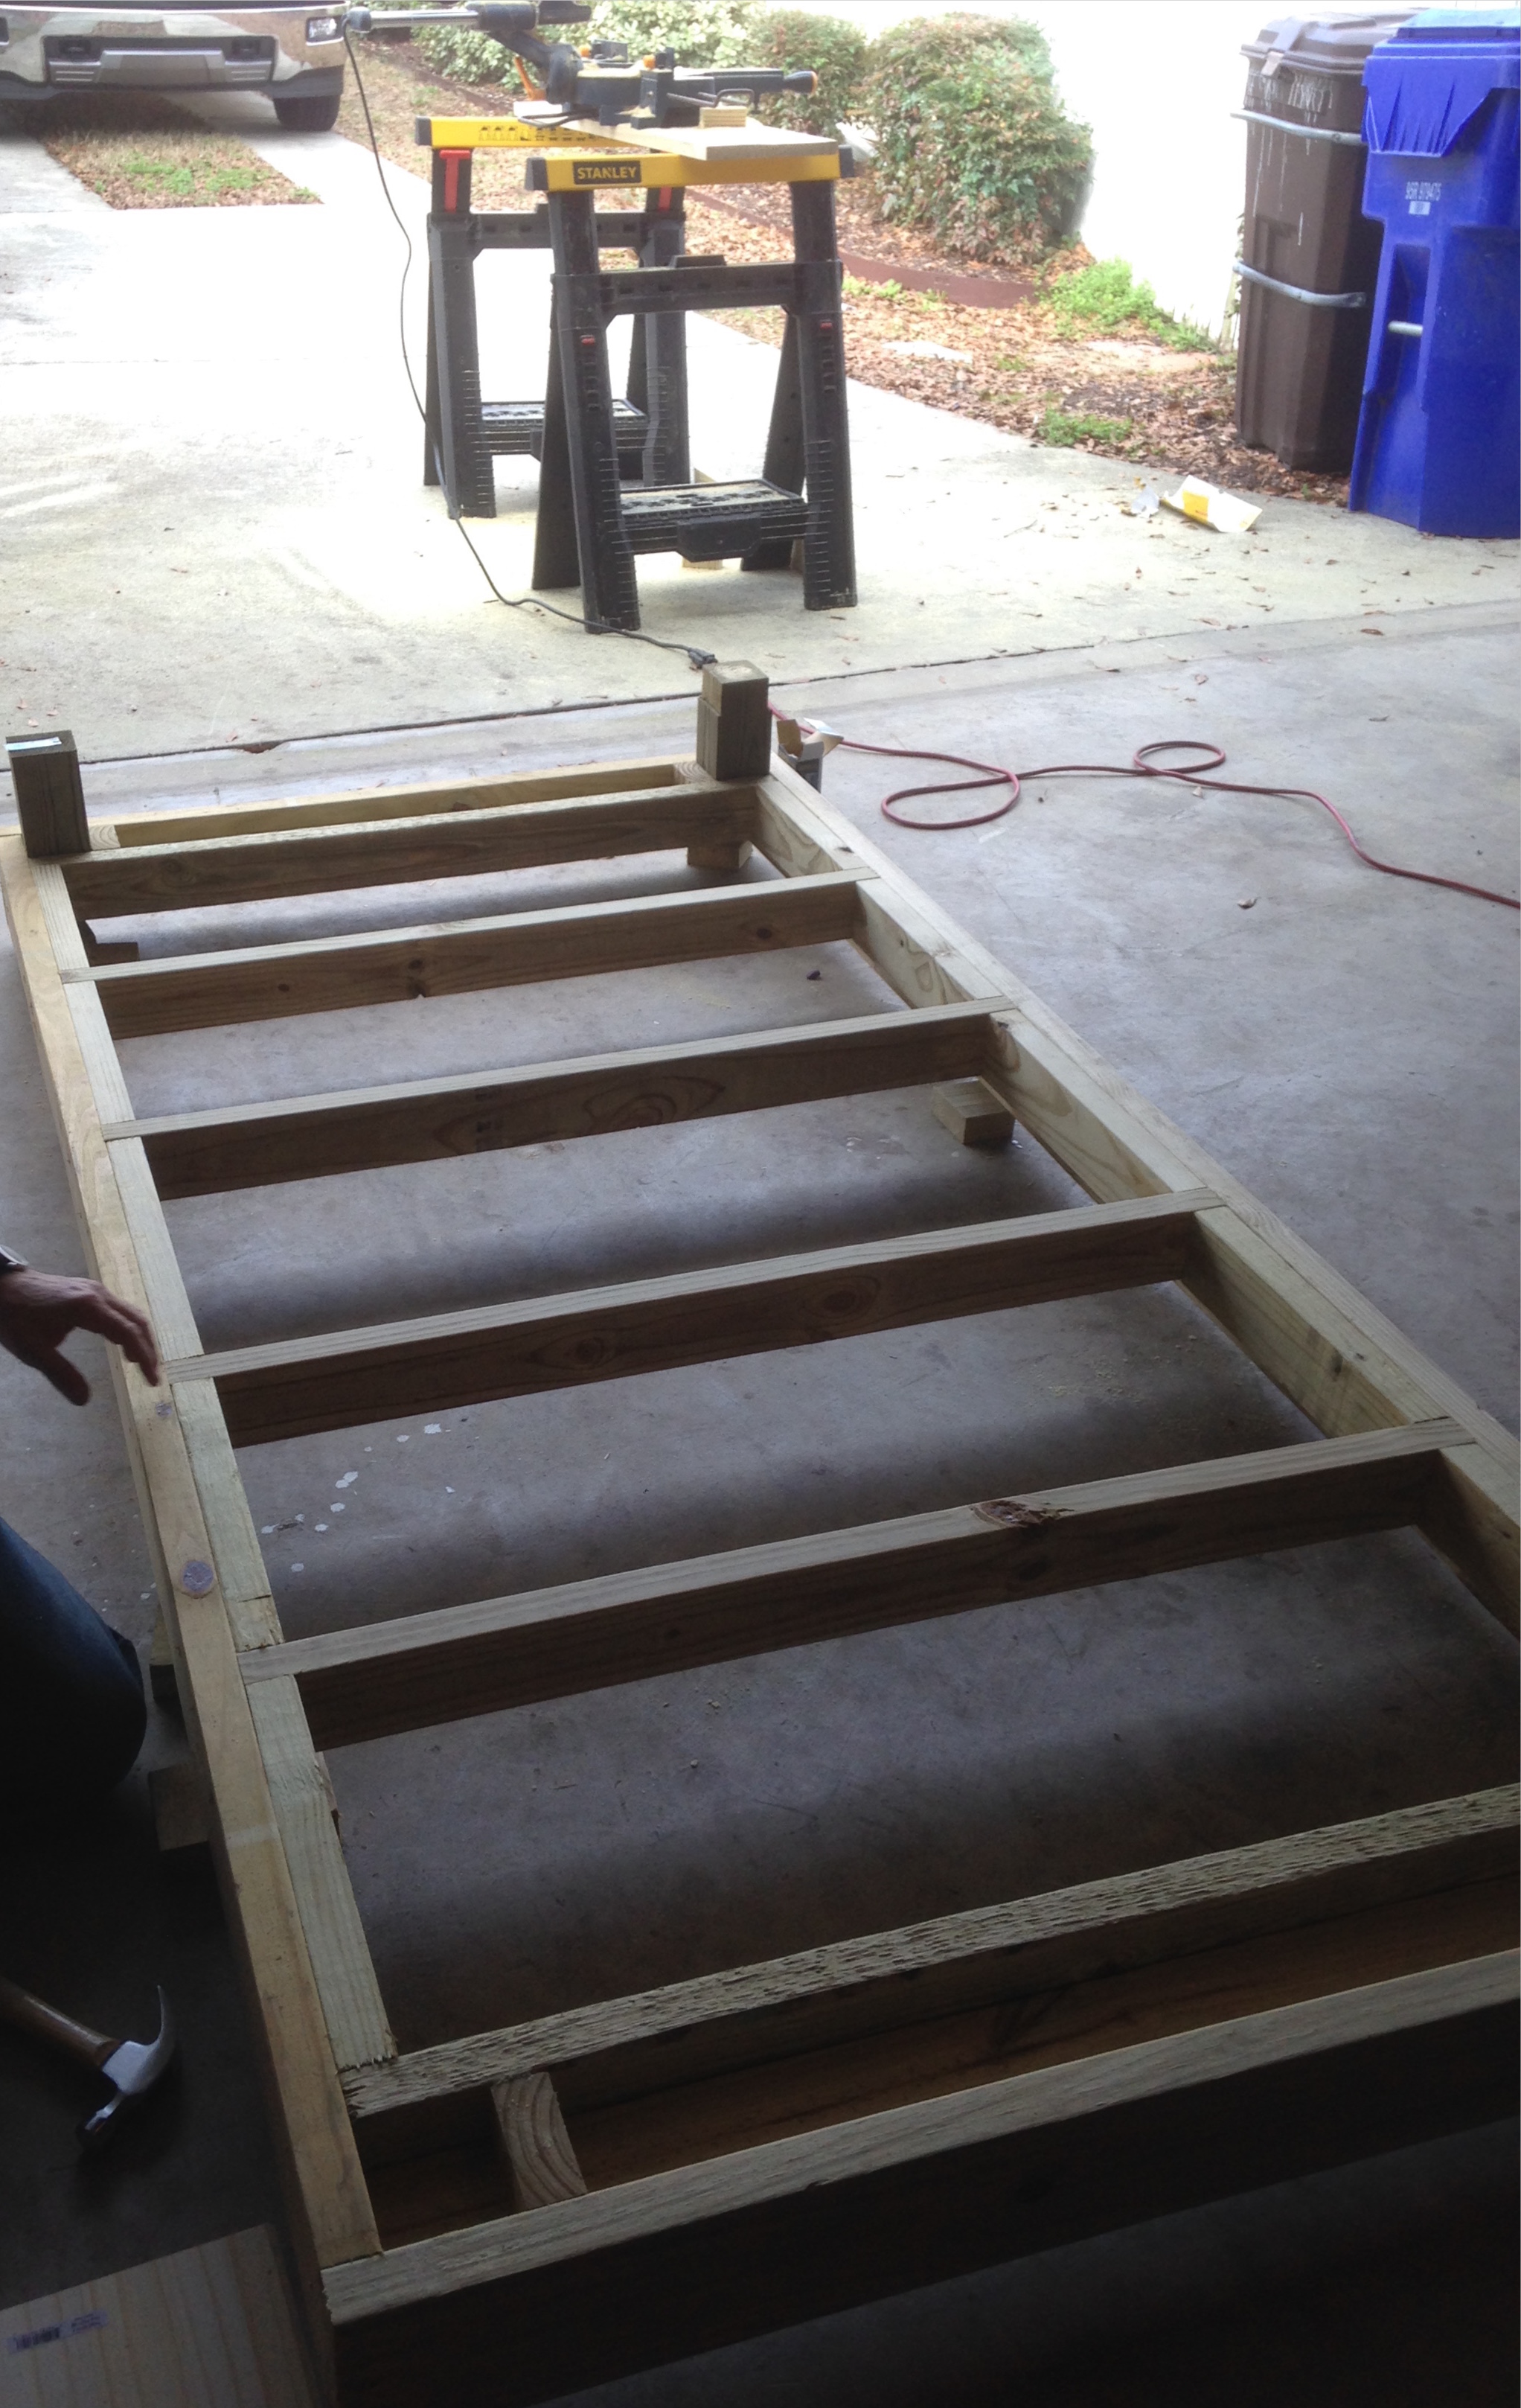
Start by building the frame of the table. This helps the table stay flat and not droop.
We didn’t want the table to always be set up, so the plan was to have removable legs. Measure the width of the legs, and then screw in wood that far away from the end into the frame to start making pockets for the legs.
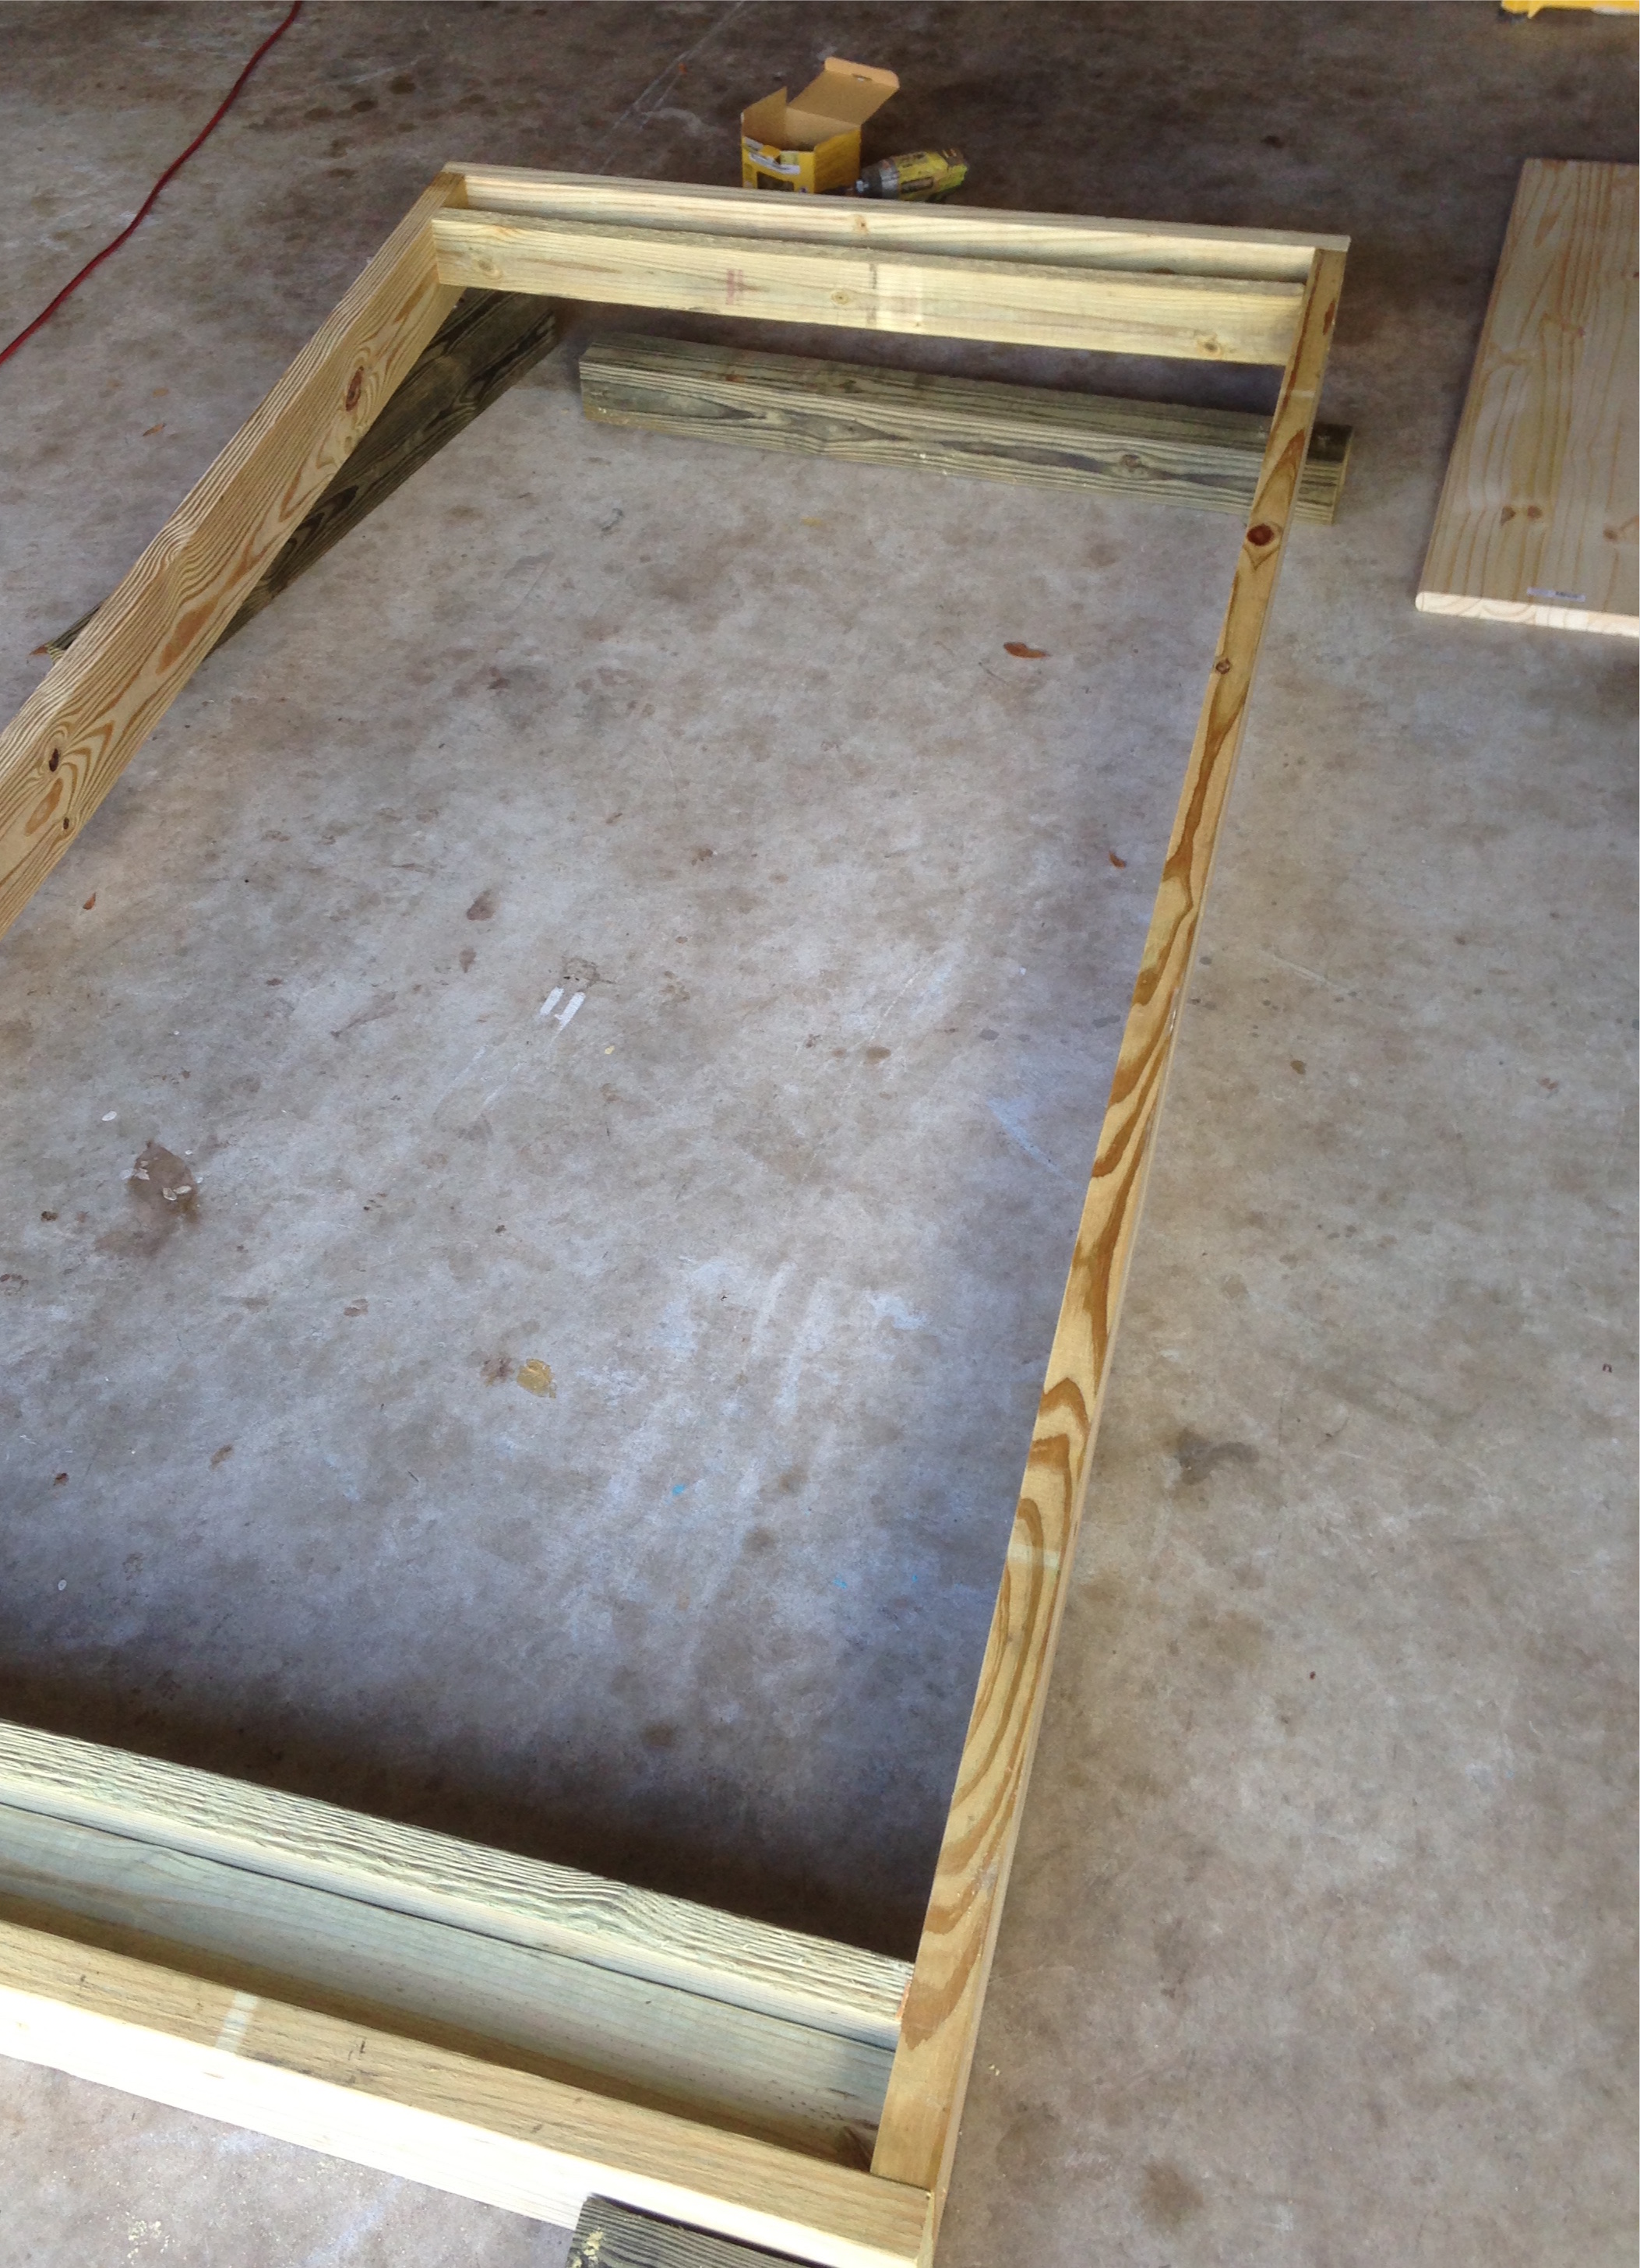
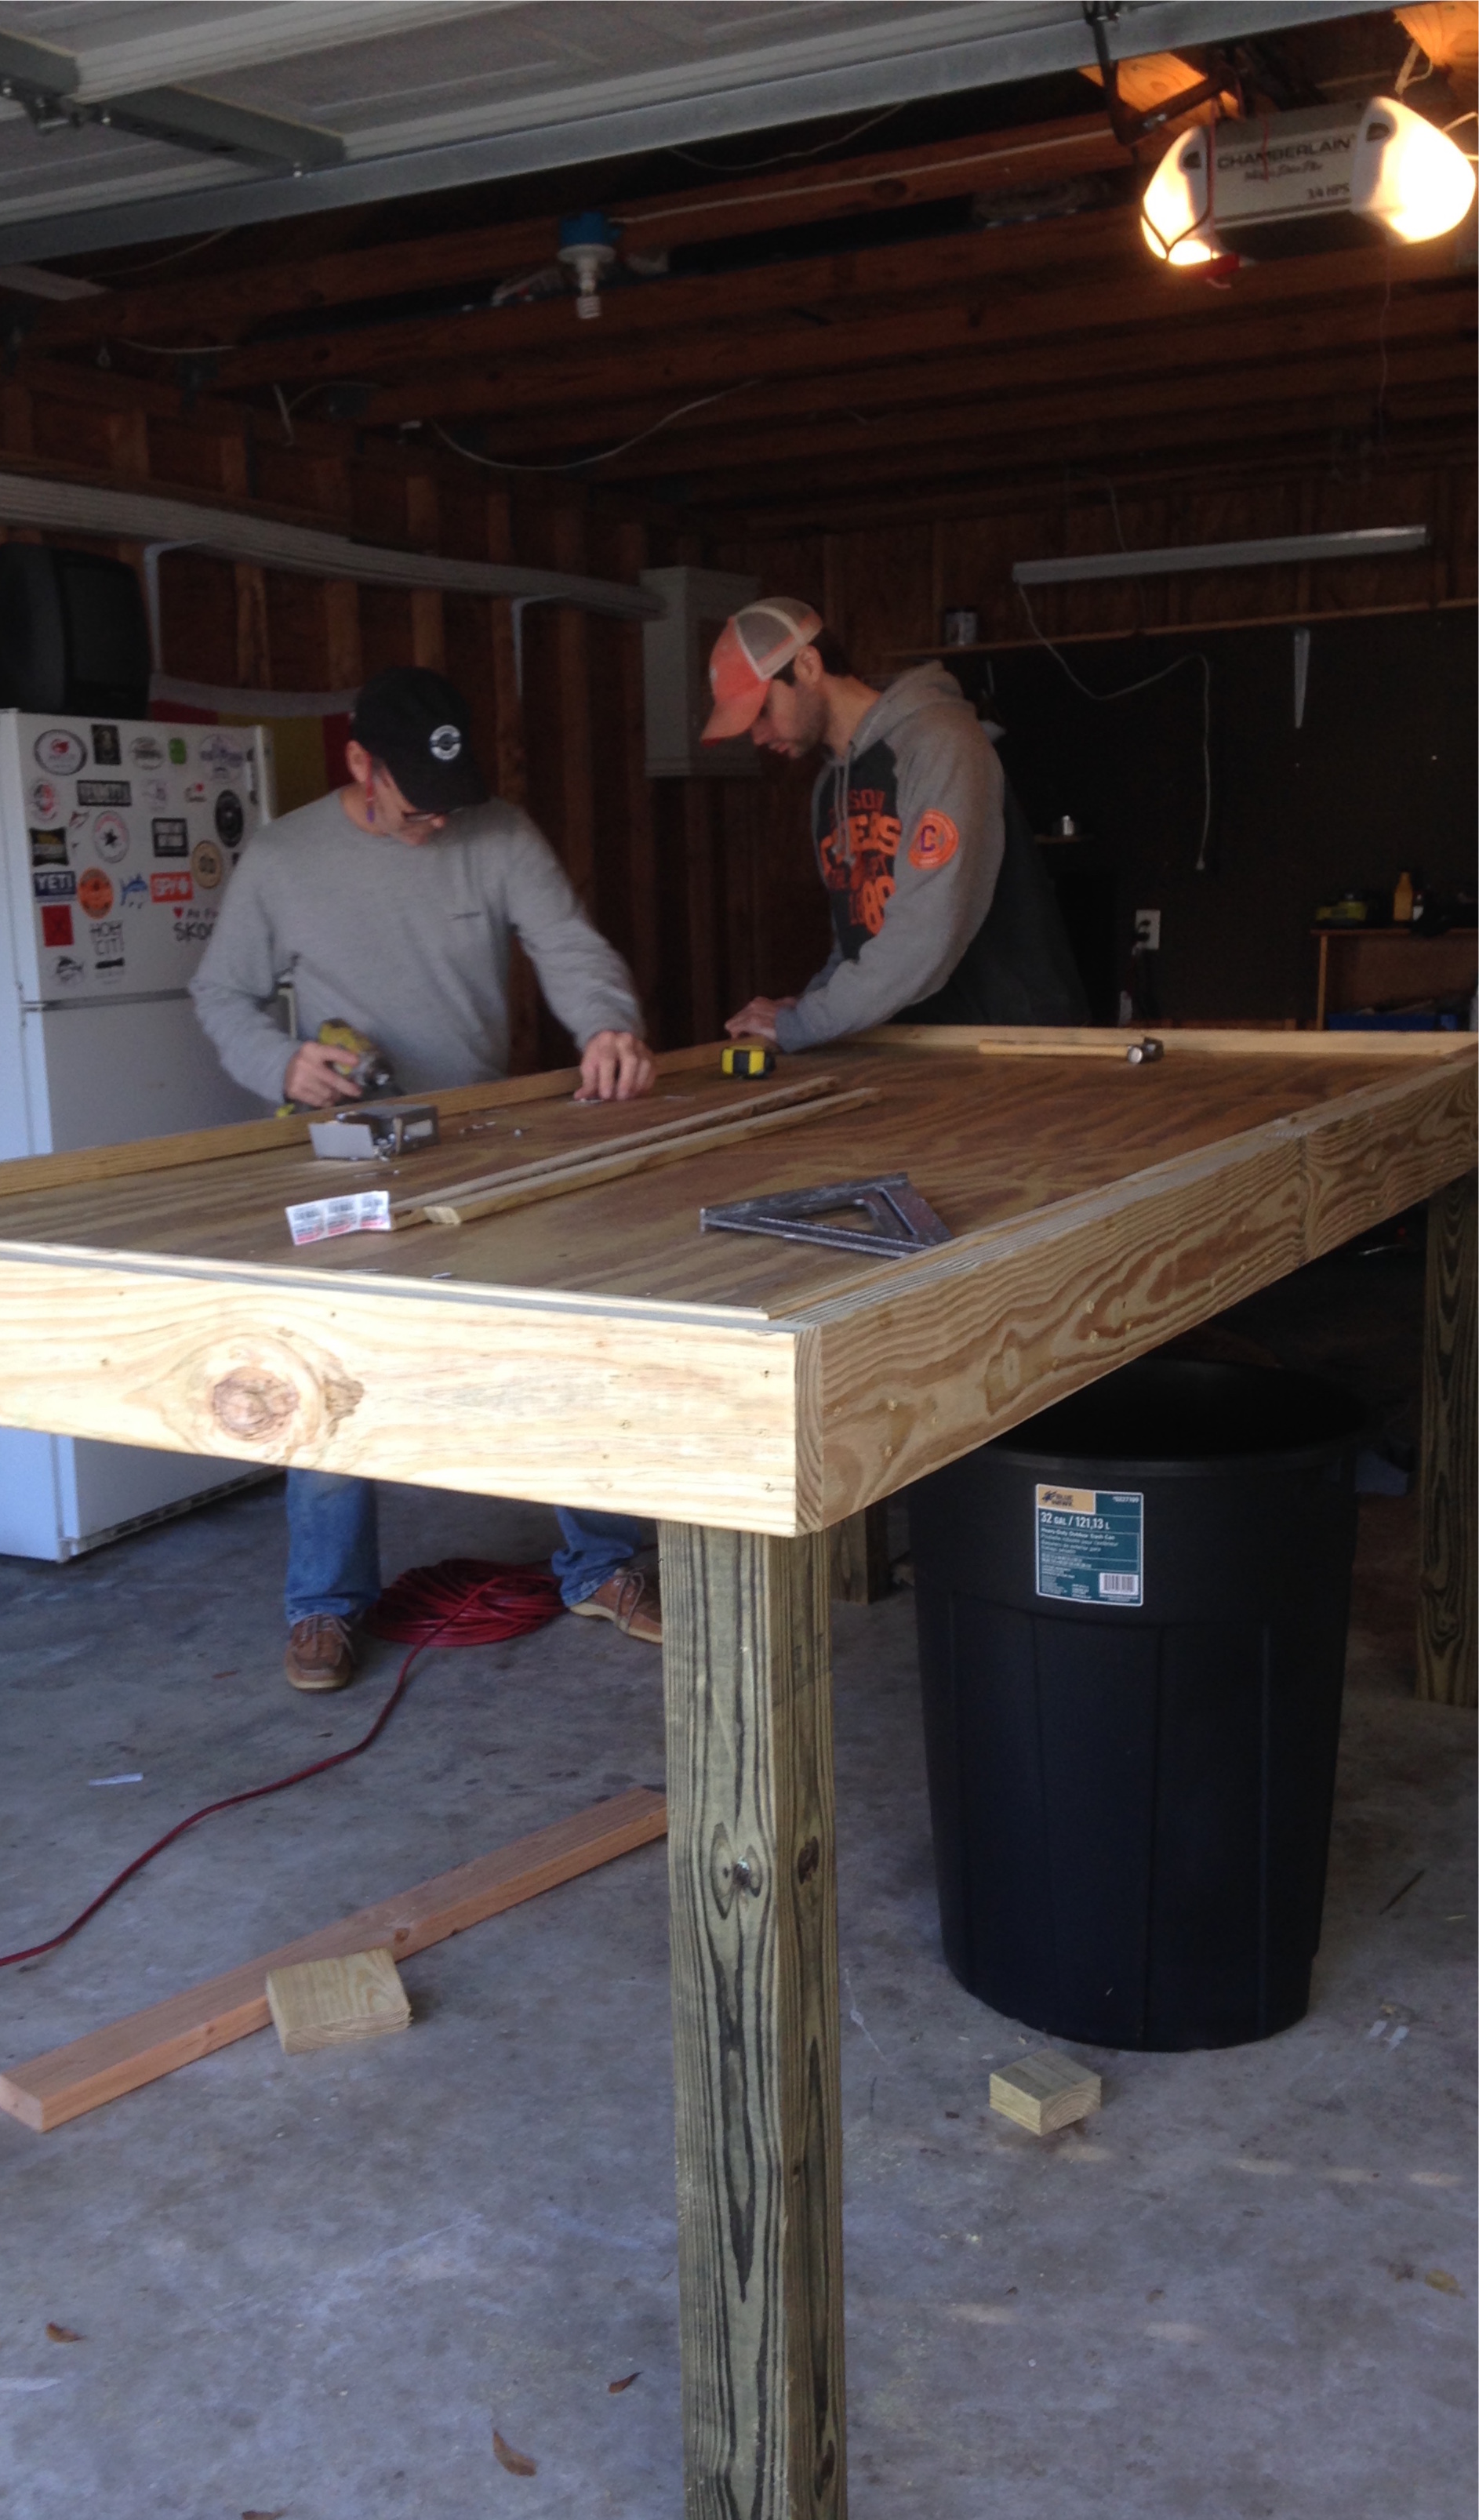
Once those are in, screw in a few more boards across the table to keep it sturdy. I’m telling ya, this is a well built oyster table.
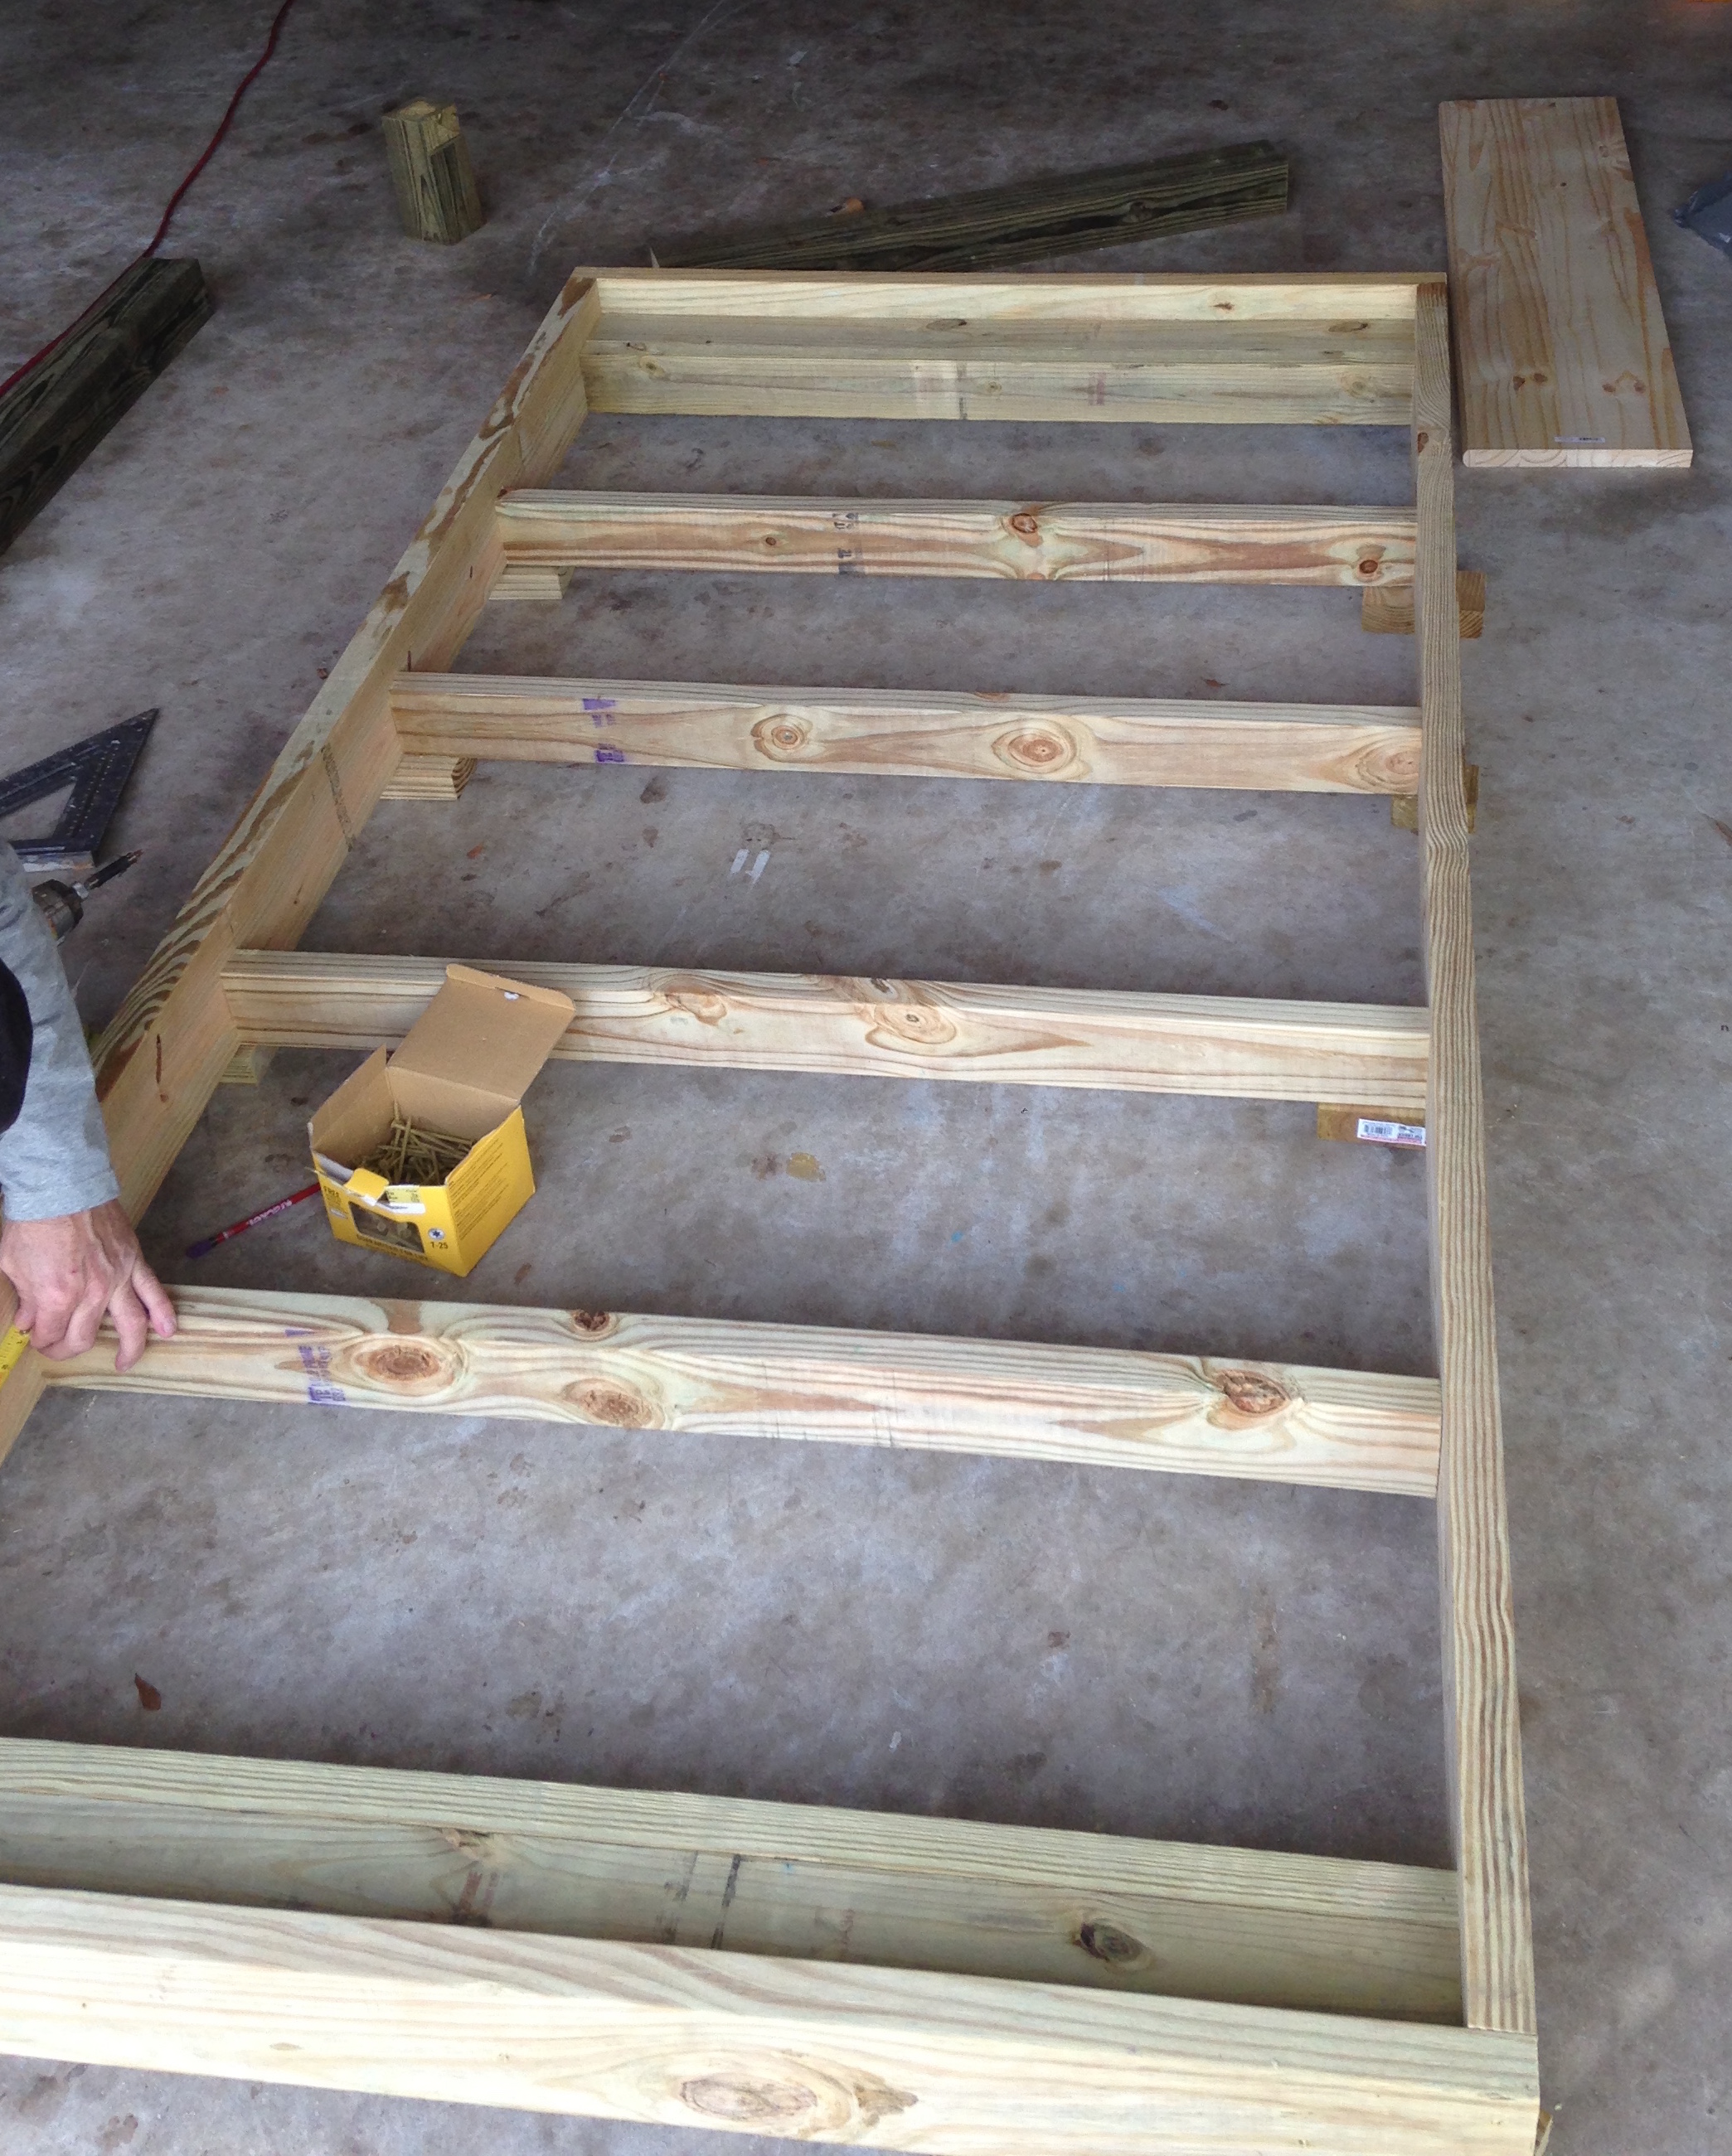
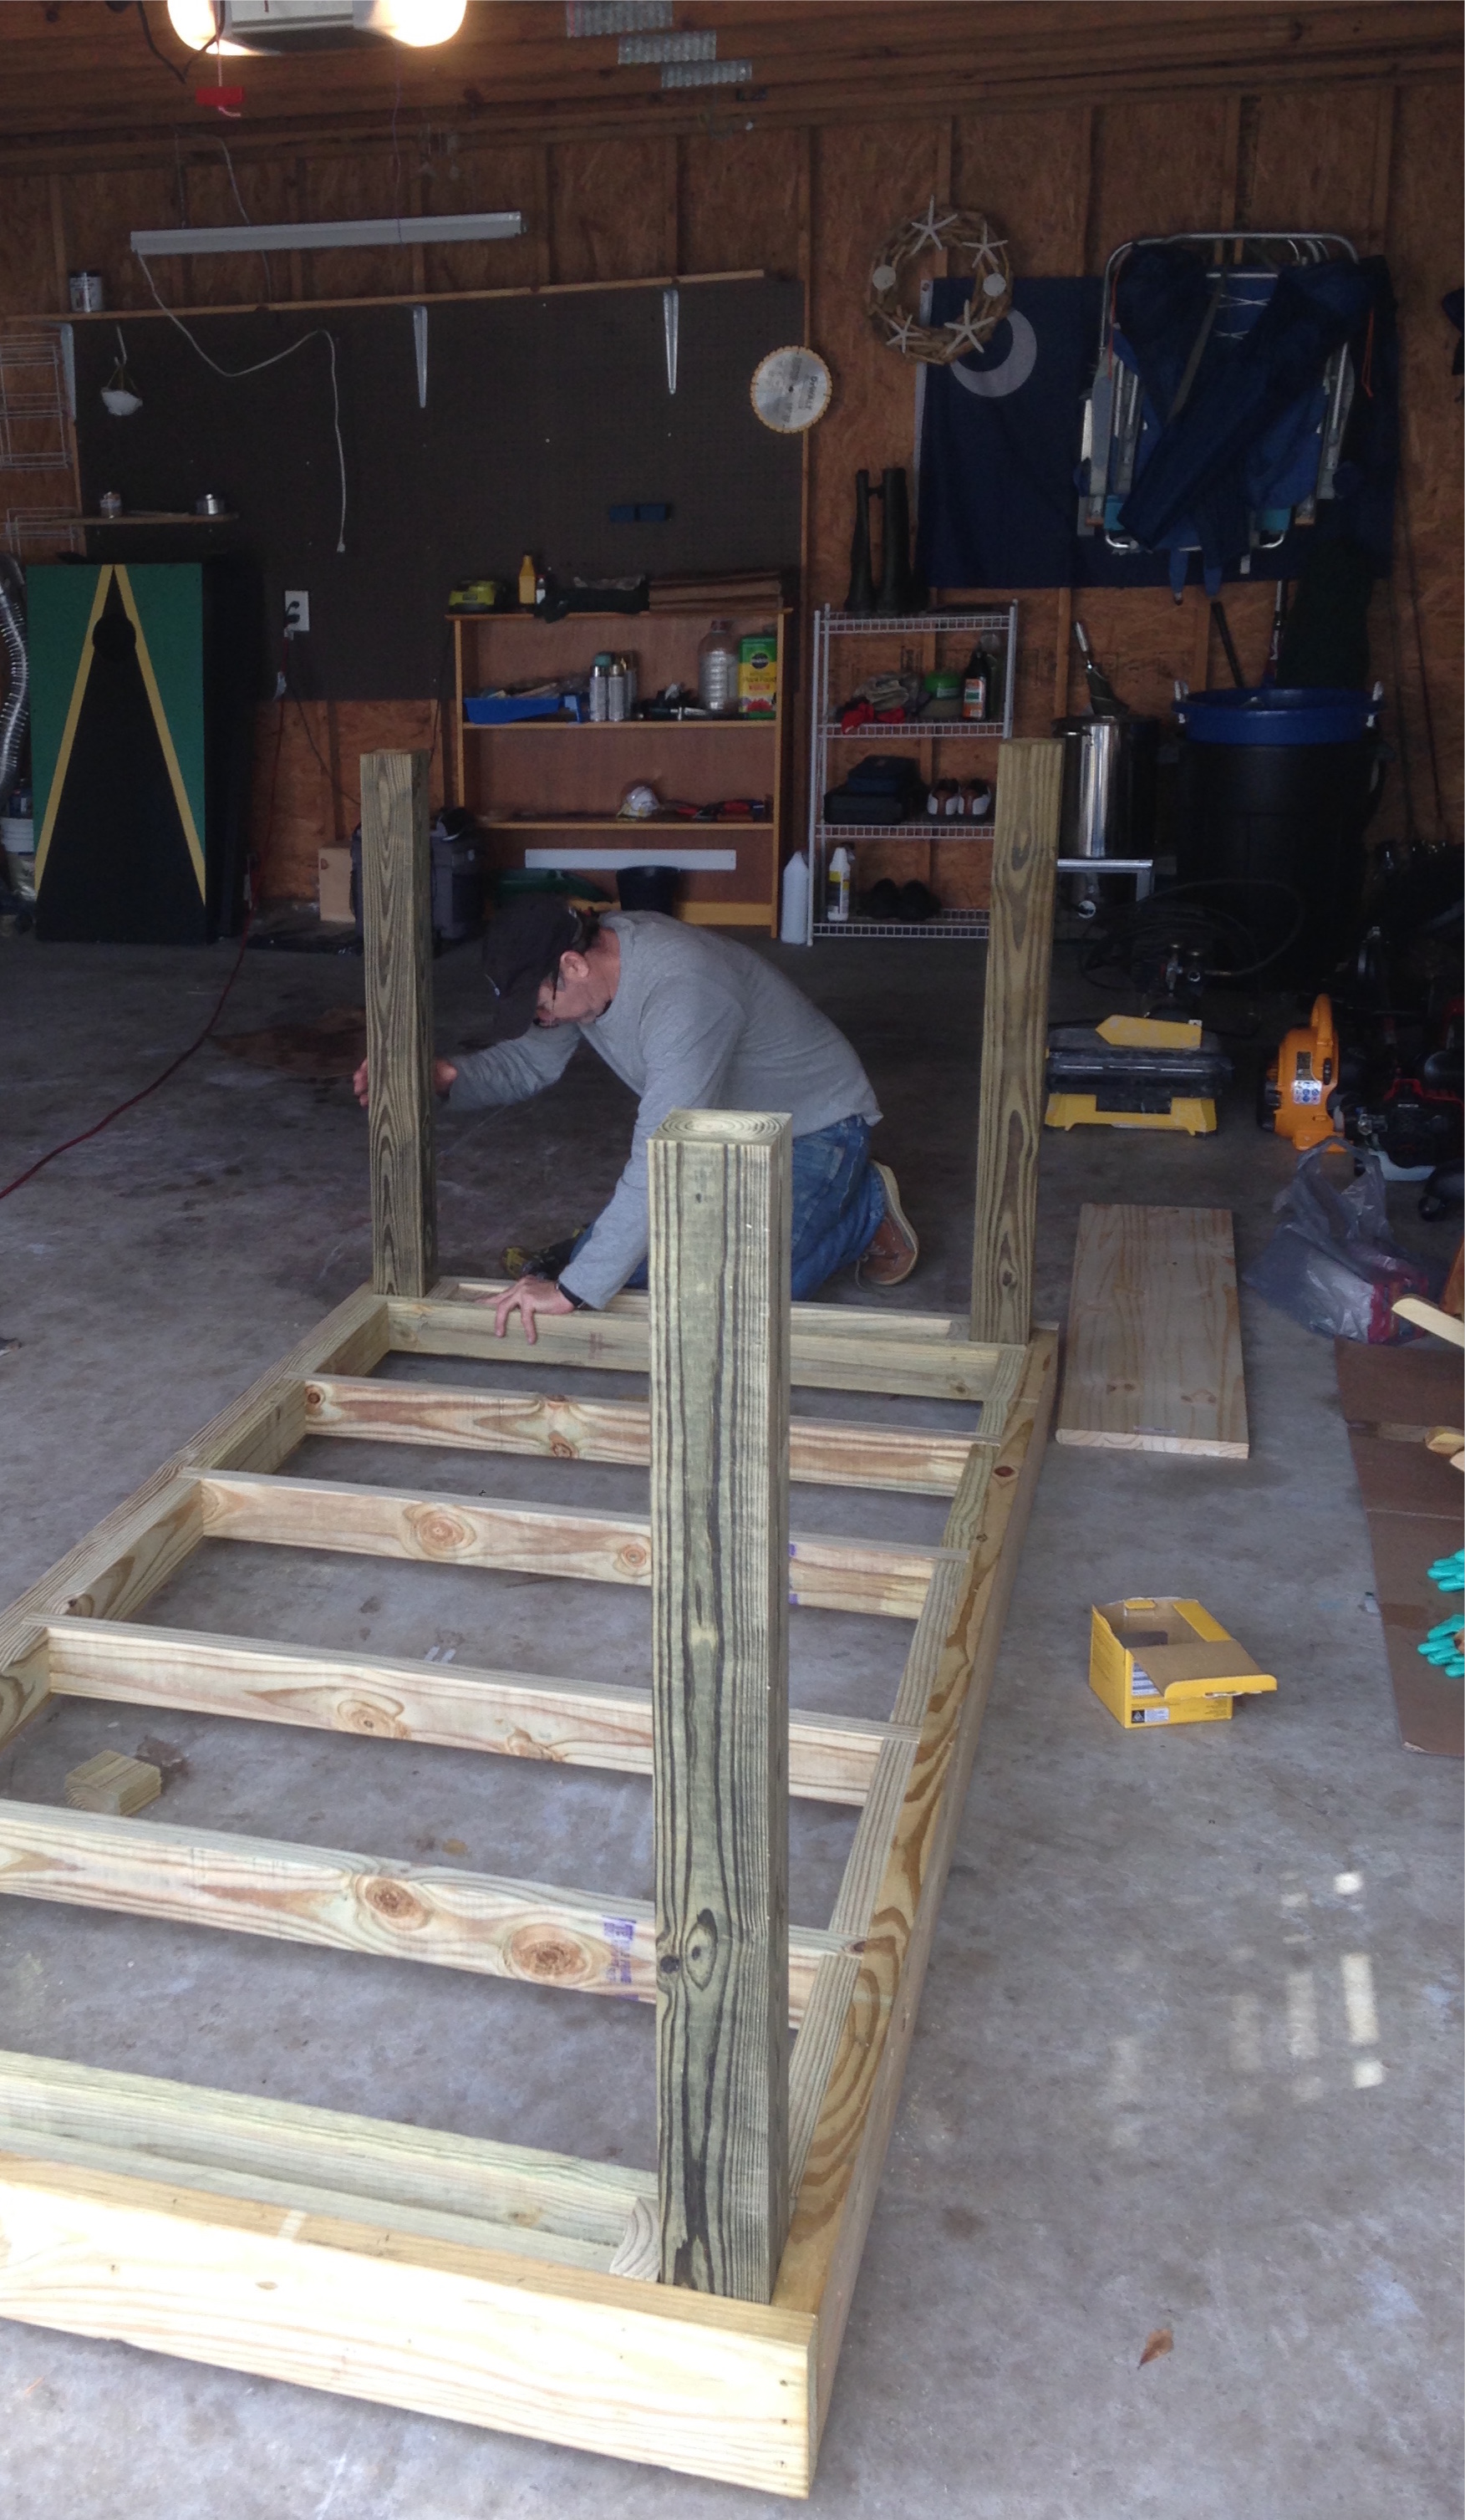
Then add a small piece of wood in each corner to finish making pockets for the legs to go into. Use small blocks the size of the legs as a template.
When the pockets are ready, put the legs into the frame to make sure they fit just right and flip it over.
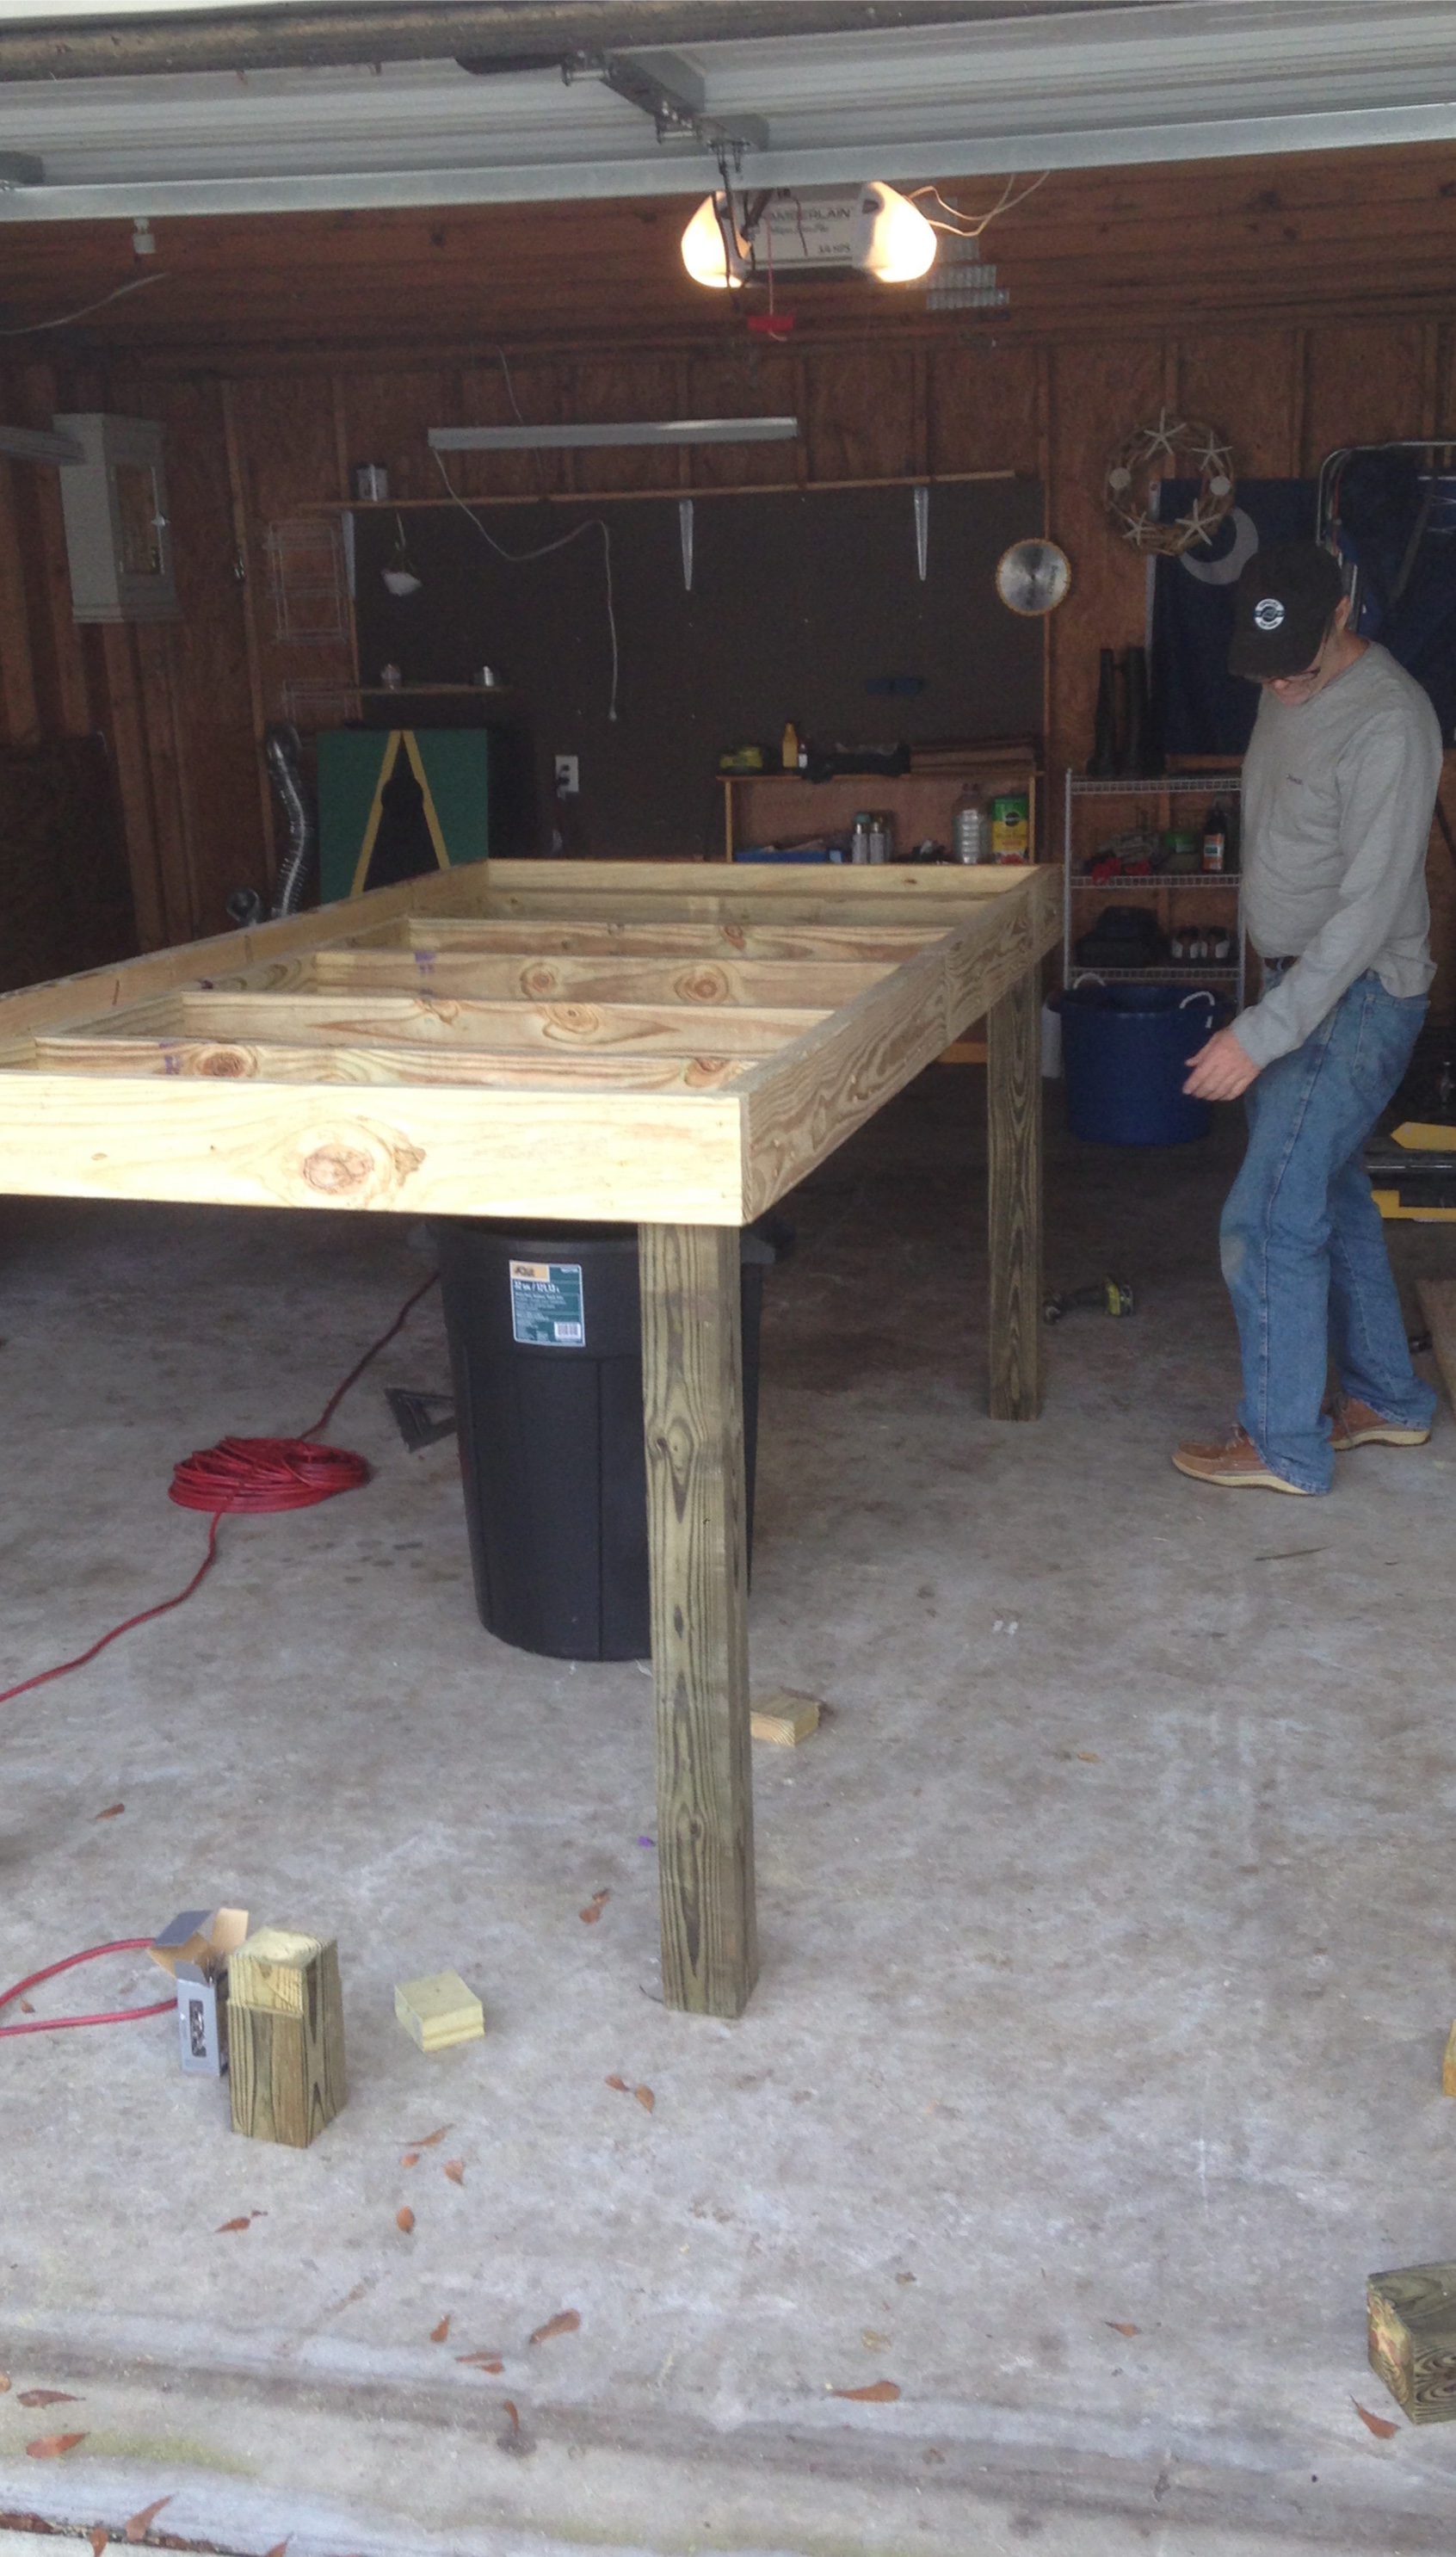
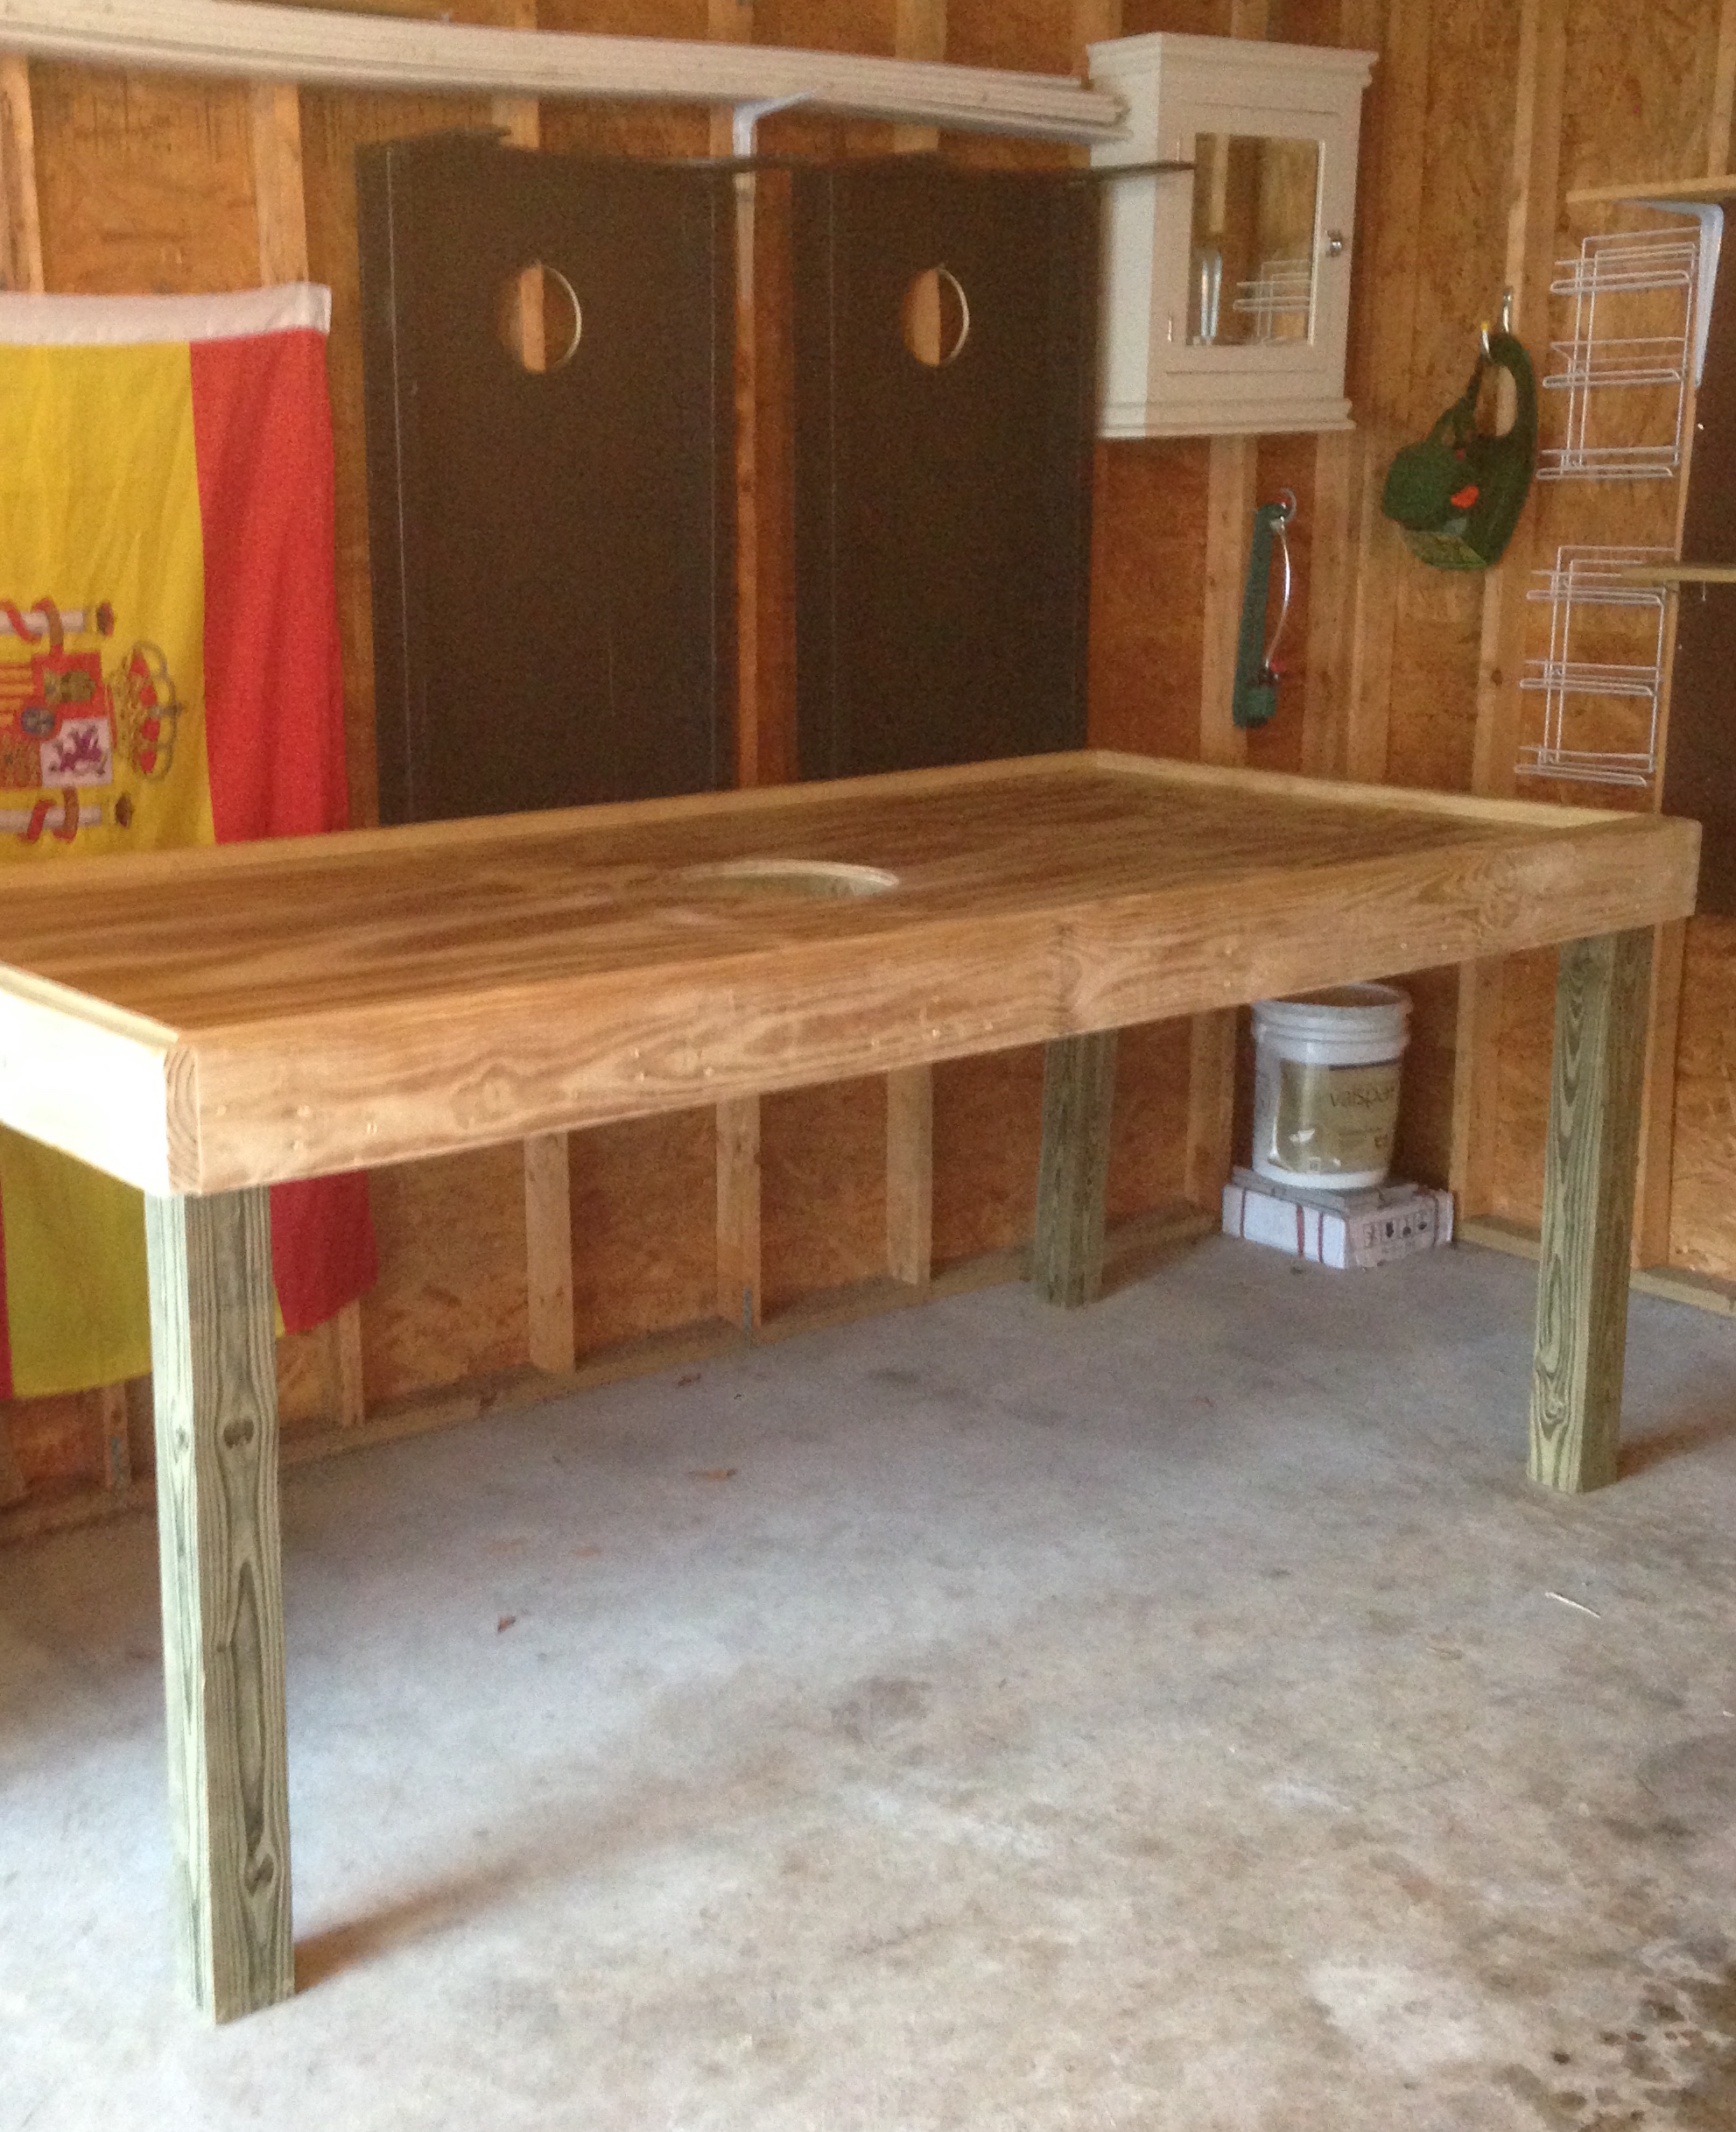
Now it’s time to add the top of the table! Screw the top into the frame.
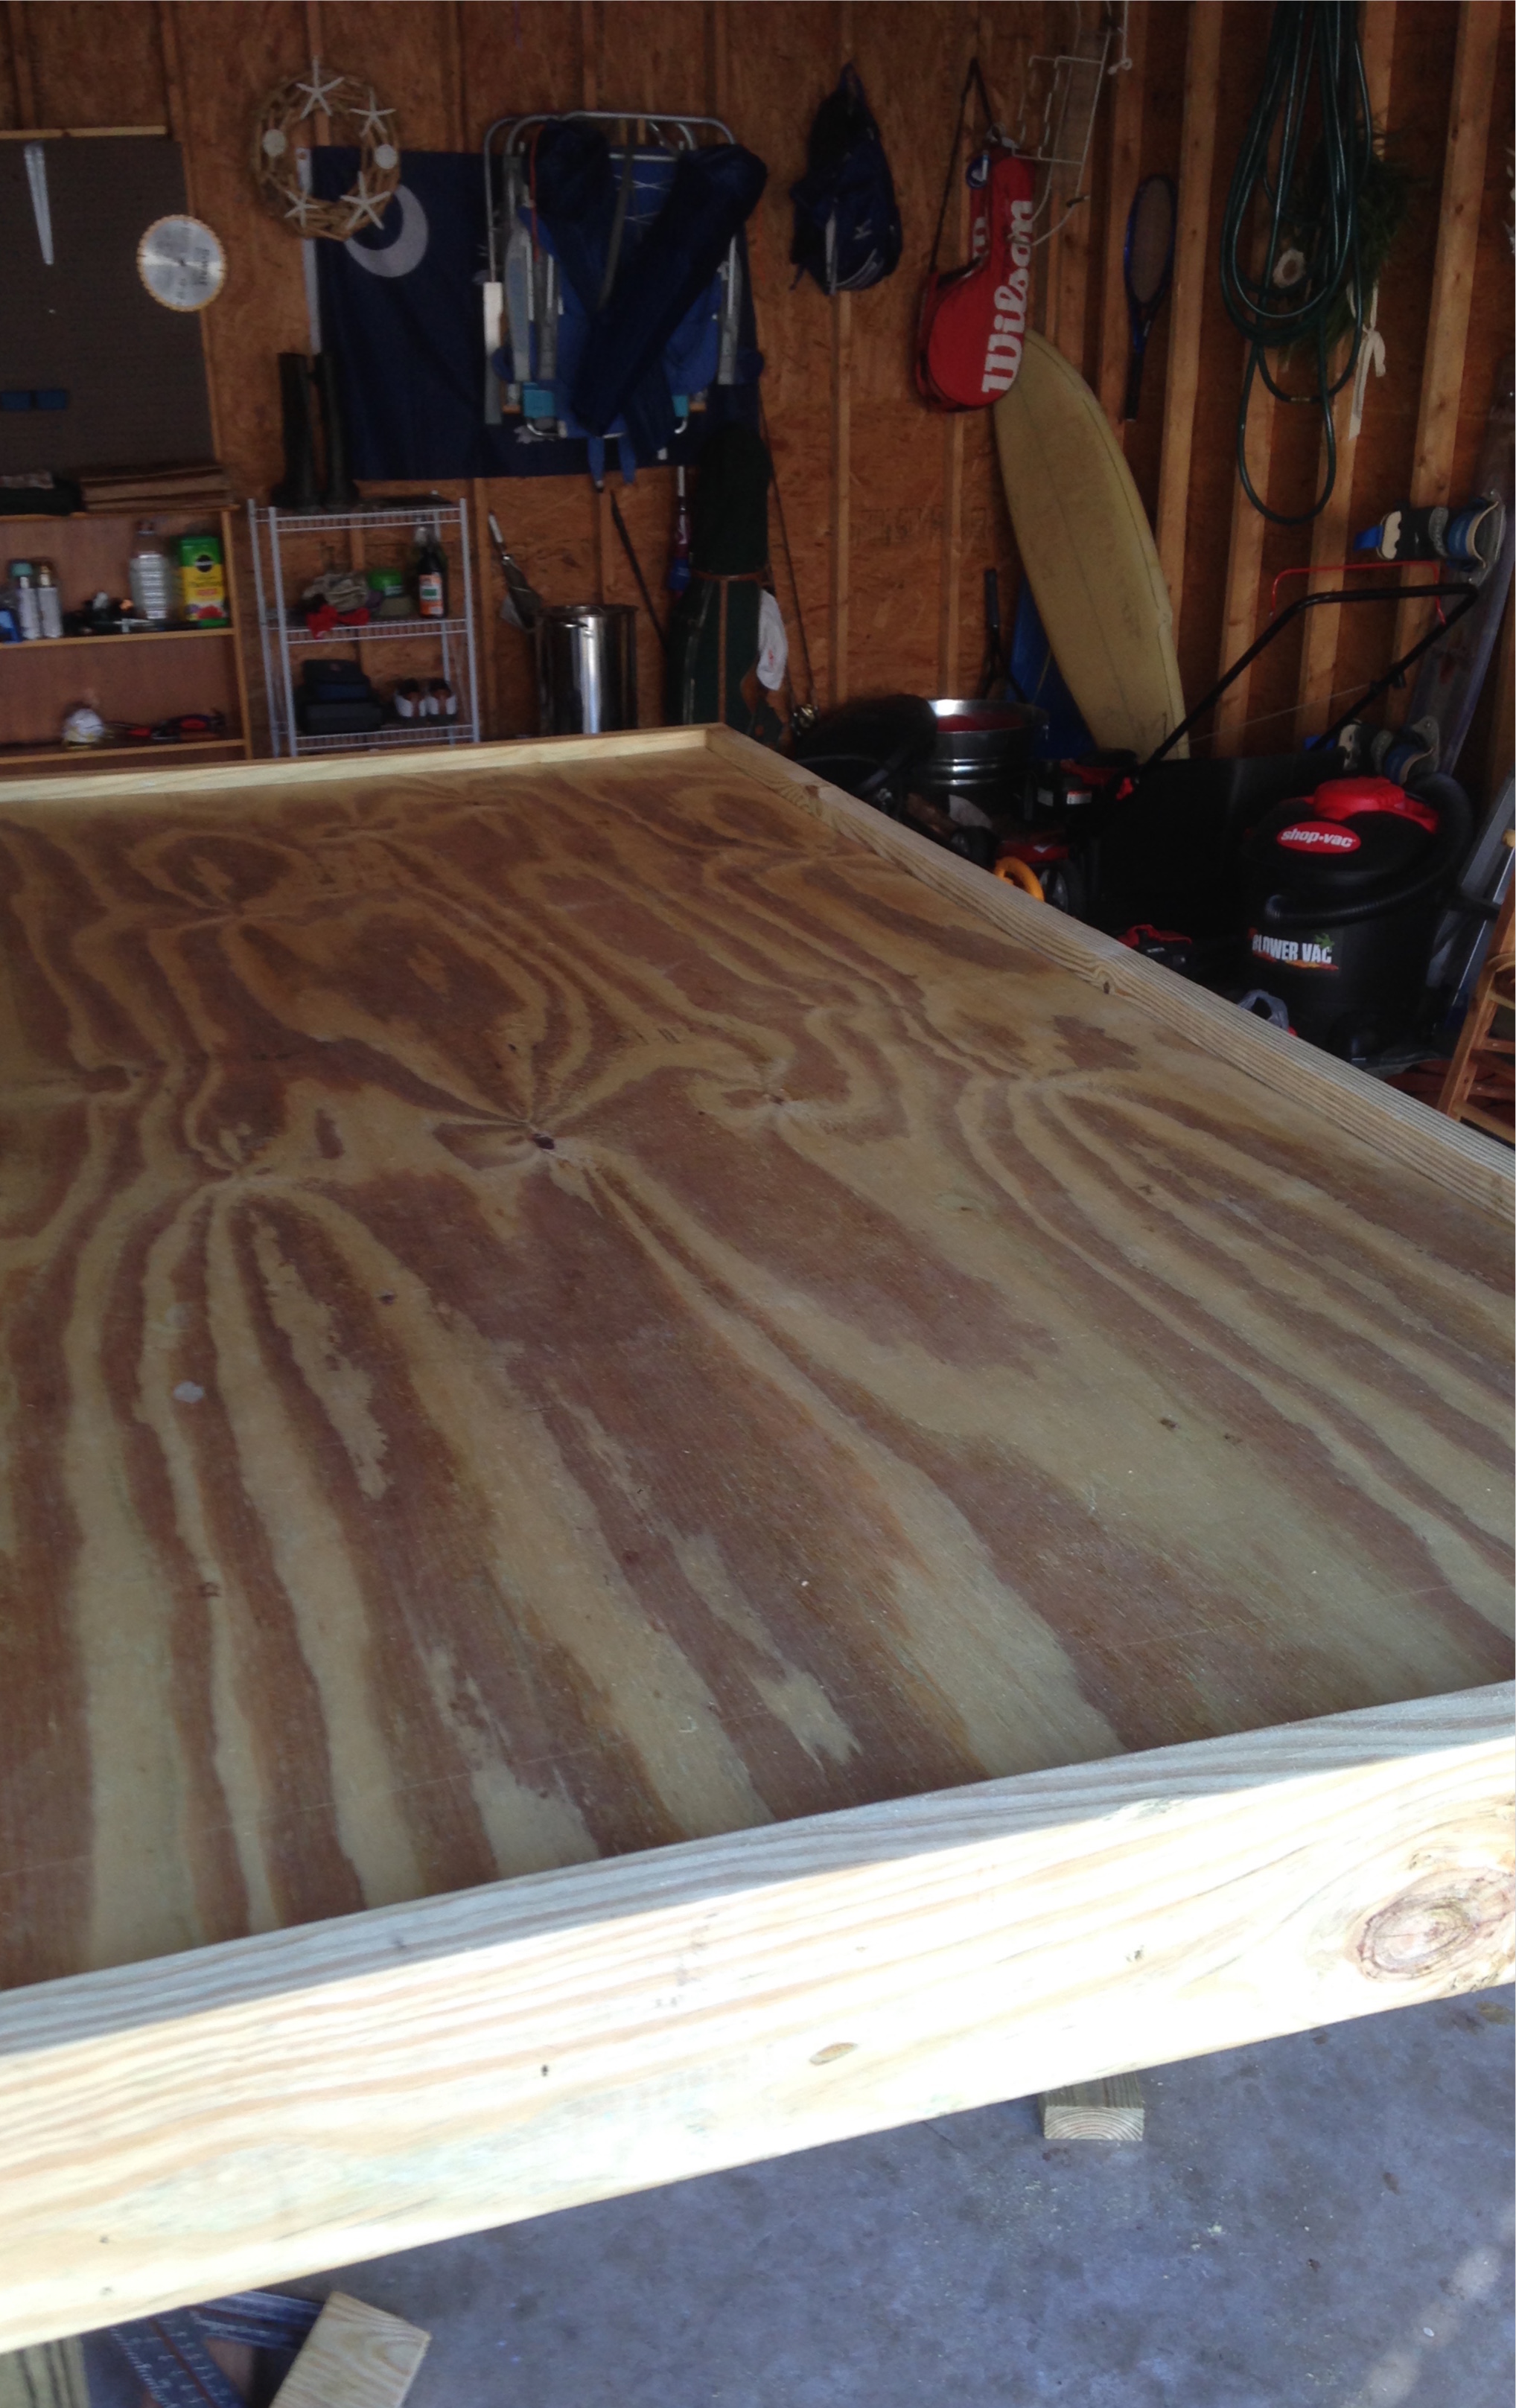
Hunter and his dad decided to add a lip to the table so oysters won’t just fall off (and to class it up some). They measured, cut, and screwed in some smaller pieces of wood into the frame to make the lip.
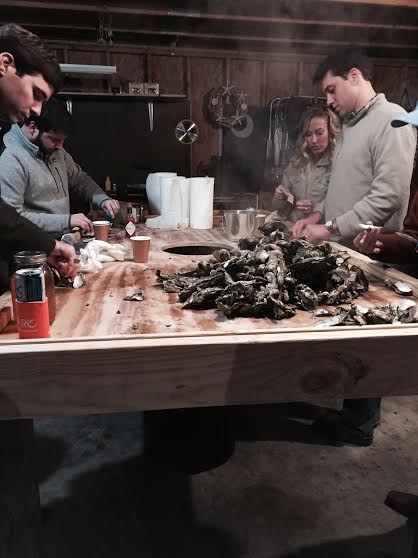
Lastly, just cut a hole in the middle and put a trashcan underneath for the oyster shells to go in so you can recycle them afterwards. Done!
We broke the table in with two bushels of oysters on New Years Eve, but kept it in the garage for a little warmth. Now we are looking forward to hosting another oyster roast soon!
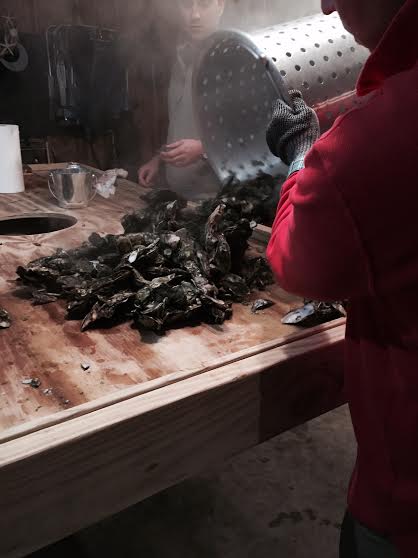
This table is most definitely going to survive the next hurricane and out-live the two of us.
Eventually I might paint the top like a football field with Georgia Tech and Clemson end zones. Who knows…